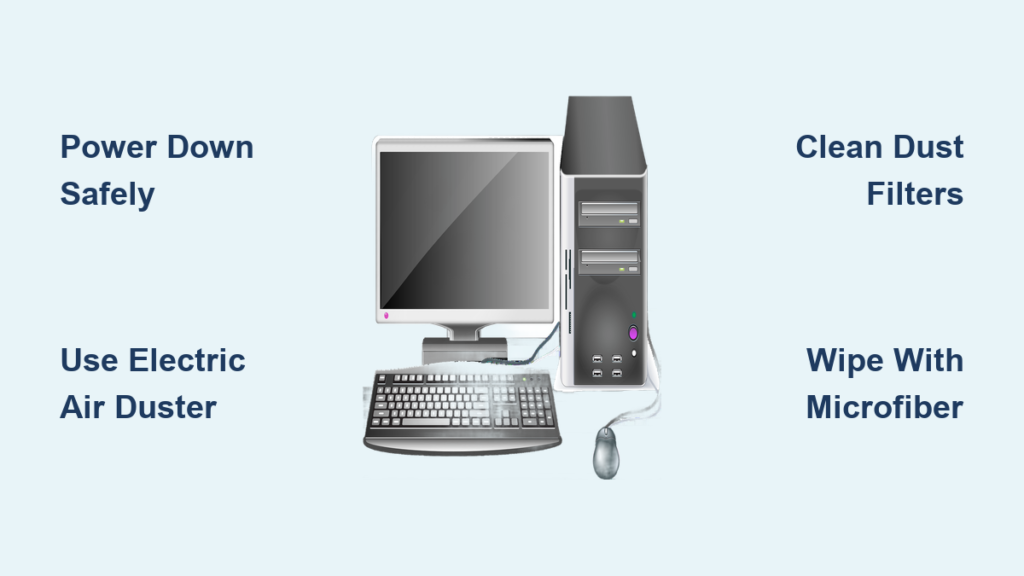
Dust buildup inside your computer case isn’t just unsightly—it can lead to overheating, reduced performance, and even hardware failure over time. While many users know to blast fans with compressed air, the real challenge lies in thoroughly cleaning interior surfaces like power supply shrouds, drive cages, and motherboard mounts without causing damage or redistributing dust. The best way to clean a computer case involves more than just blowing dust around; it requires a strategic mix of tools and techniques that safely remove debris while minimizing static risk and recontamination. In this guide, you’ll learn how to deep-clean every corner of your PC case, which tools actually work, and why some common methods—like using a vacuum—are safer than you’ve been told.
You’ll discover a step-by-step process that prevents dust from resettling, when to use isopropyl alcohol, how to handle dust filters, and long-term strategies to reduce future buildup. Whether you’re doing routine maintenance or tackling years of accumulated grime, this method keeps your system running cooler and lasts longer.
Essential Safety Steps Before Cleaning
Protecting yourself and your hardware starts before you touch a screwdriver. Skipping safety steps risks electrostatic discharge or accidental power-on damage.
Power Down and Unplug Completely
Shut down your PC through the operating system, then flip the power switch on the back of the power supply to off. Unplug the power cord from both the wall outlet and the PSU. This ensures no residual electricity remains in the system and prevents accidental startup during cleaning.
Ground Yourself to Prevent Static Damage
Touch a grounded metal object like a radiator pipe or the center screw of a wall outlet faceplate before handling internal parts. For consistent protection, wear an anti-static wrist strap clipped to the bare metal of the case (while it’s unplugged). Even minor static shocks can damage sensitive components like RAM or motherboard circuitry.
Remove Components If Needed for Deep Access
For heavily dusted systems or infrequent cleanings, remove the GPU, drive cages, or side panels for full visibility. This gives you direct access to hidden areas like under the motherboard tray or behind the PSU shroud. Store screws in a labeled container and place components on a non-conductive surface like cardboard.
Required Tools for Effective Case Cleaning

Using the right tools ensures efficient cleaning without risking damage. Avoid household substitutes that can cause harm.
Compressed Air for Fast Dust Removal
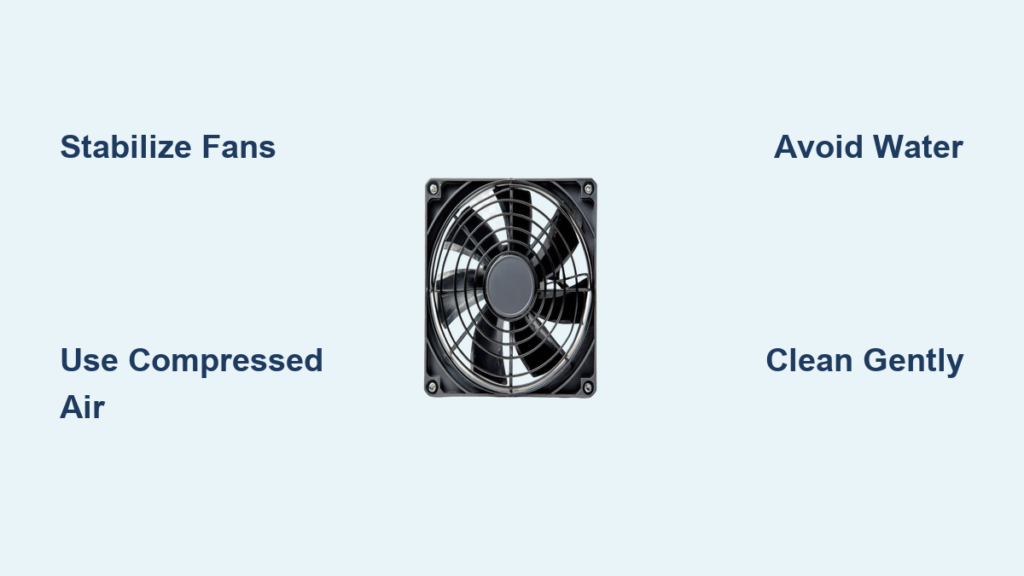
Use canned or electric air dusters to dislodge dust from heatsinks, fan blades, and tight gaps. Hold fans still with a finger or toothpick while spraying to prevent bearing damage from overspinning. Use short bursts to avoid moisture buildup from over-discharging canned air.
Vacuum Cleaner with Brush Attachment
Contrary to myth, using a vacuum is safe when done correctly. Use a vacuum with a soft brush nozzle to collect loose dust from the case floor, corners, and behind drive bays. Keep the nozzle 1–2 inches away from components to minimize static risk and never press it against exposed circuitry.
Microfiber Cloths for Wiping Non-Sensitive Surfaces
Dry microfiber cloths are ideal for wiping dust from the power supply shroud, interior side panels, and plastic trays. They don’t generate static and won’t scratch surfaces. For sticky residue, lightly dampen the cloth with isopropyl alcohol instead of spraying directly.
Soft Detailing Brushes for Tight Spaces
An automotive detailing brush or small paintbrush helps loosen dust from cable ties, fan hubs, and crevices. Use gentle strokes to lift debris, then follow up with air or vacuum to remove it. Avoid metal brushes that could scratch or conduct electricity.
Step-by-Step Interior Cleaning Process
Follow this sequence to maximize effectiveness and minimize dust resettling.
Open the Case and Inspect Dust Buildup
Remove both side panels and examine airflow paths—intake grills, exhaust vents, PSU cover, and radiator mounts. Look for thick dust layers on fan blades, heatsinks, and filter frames. Prioritize areas with visible blockage to restore optimal cooling.
Blow Dust from Fans and Heatsinks
Use compressed air to spray CPU coolers, GPU fans, and case fans from multiple angles. Hold each fan still to prevent damage. Focus on fin gaps and blade undersides where dust clings. Work top to bottom so dislodged particles fall downward and out.
Vacuum Loose Dust from Case Floor and Corners
After blowing dust loose, use a vacuum with a narrow nozzle to collect debris from the base, behind drive cages, and near the PSU intake. Keep the nozzle moving and avoid contact with components. This prevents dust from being blown back into the air and re-entering the system.
Wipe Down Non-Electronic Surfaces
Use a dry microfiber cloth to wipe the power supply shroud, interior side panels, and metal trays. These areas trap dust but aren’t electrically sensitive. For stubborn buildup, lightly dampen the cloth with 70% isopropyl alcohol, then dry immediately with a second cloth.
Handle Dust Filters Properly to Maintain Airflow

Dust filters at intake points trap debris before it enters the case—but only if they’re clean.
Remove and Rinse Filters Under Water
Take out magnetic or slide-in filters from the front, bottom, or top panels. Rinse them under lukewarm tap water. Gently scrub with a soft brush if needed. Avoid hot water or harsh detergents that could warp the plastic frame.
Air Dry Completely Before Reinstalling
Let filters dry naturally for at least 4–6 hours. Never reinstall damp filters—they can promote mold growth and wick moisture into the case. You can speed drying with a hairdryer on cool setting, but avoid heat to prevent warping.
When to Use Isopropyl Alcohol for Sticky Residue
Dry methods work for dust, but sticky buildup needs special treatment.
Identify Sticky Residue from Smoke or Oils
If your PC has been exposed to cigarette smoke, cooking grease, or oily aerosols, dust may form a gummy layer on surfaces. This restricts airflow more than dry dust and won’t respond to air or vacuum alone.
Apply Alcohol with Cloth, Not Directly
Dampen a corner of a microfiber cloth with 70–90% isopropyl alcohol. Wipe affected areas like fan hubs, filter frames, or plastic shrouds. Never spray liquid directly into the case—this risks dripping onto circuit boards or capacitors.
Dry Immediately After Wiping
Use a second dry cloth to remove any moisture left behind. Alcohol evaporates quickly, but lingering dampness near electronics is still a risk. Ensure all wiped areas are fully dry before reassembling.
Avoid Common Cleaning Mistakes That Harm Your PC

Even careful users make errors that reduce effectiveness or create hazards.
Don’t Use Household Cleaners
Products like Windex, disinfectant wipes, or glass cleaners contain chemicals that can corrode plastics or leave conductive residues. Stick to isopropyl alcohol and microfiber for safe cleaning.
Never Point Vacuum Nozzle at Exposed Components
While vacuuming is safe when done correctly, pressing the nozzle against RAM slots or PCIe connectors increases static risk. Keep distance and move slowly across open areas.
Avoid Overusing Compressed Air Cans
Spraying too long can release cold liquid propellant, which may condense on components. Always hold cans upright and use short bursts. Consider investing in a rechargeable electric air duster for long-term use.
Prevent Dust Buildup Long-Term
Cleaning every 3–6 months is smart, but reducing intake is better.
Install High-Quality Mesh Filters
Cases with fine-mesh intake filters block more dust without restricting airflow. Upgrade if your case uses coarse grills or none at all.
Position PC Away from Floors and Walls
Place your tower at least 2–3 inches from walls and off carpeted floors. Elevated positions reduce dust and pet hair intake from ground-level air currents.
Use Positive Airflow Strategy
Set intake fans to slightly exceed exhaust CFM (cubic feet per minute). This creates positive pressure, pushing dust-laden air out through seams instead of letting it seep in through unfiltered gaps.
Frequently Asked Questions About Cleaning Computer Cases
Can I use a vacuum to clean inside my PC?
Yes, as long as you don’t touch components. Use a vacuum with a soft brush nozzle and keep it 1–2 inches away from parts. This safely removes dislodged dust without significant static risk.
How often should I clean my computer case?
Every 3–6 months for most users. If you have pets, smoke, or live in a dusty environment, clean every 2–3 months to maintain airflow and cooling efficiency.
Is it safe to wipe the power supply shroud with a cloth?
Yes, the power supply shroud is non-electronic and safe to wipe with a dry microfiber cloth. For sticky grime, use a cloth dampened with isopropyl alcohol, then dry immediately.
Can I wash my case’s dust filters?
Yes, remove them and rinse under lukewarm water. Let them air dry completely for 4–6 hours before reinstalling. Never use hot water or soap that could damage the mesh.
Should I remove the motherboard to clean the case?
Only if the case is extremely dusty or you’re doing a full rebuild. For routine cleaning, removing side panels and using air/vacuum is sufficient.
What’s the best tool for cleaning tight spaces?
A soft detailing brush or small paintbrush works best for crevices, cable ties, and fan hubs. Use light strokes to lift dust, then follow with compressed air or vacuum.
Key Takeaways for Keeping Your PC Dust-Free
The best way to clean a computer case combines compressed air, vacuuming, microfiber wiping, and proper filter maintenance—all done safely and systematically. By following these steps every 3–6 months, you’ll keep your system running cooler, quieter, and more reliably for years. Avoid myths about vacuums causing static damage, but always ground yourself and work carefully. With the right tools and routine, cleaning your PC becomes fast, effective, and stress-free. Start with safety, use the right tools, and implement long-term airflow strategies to protect your investment.