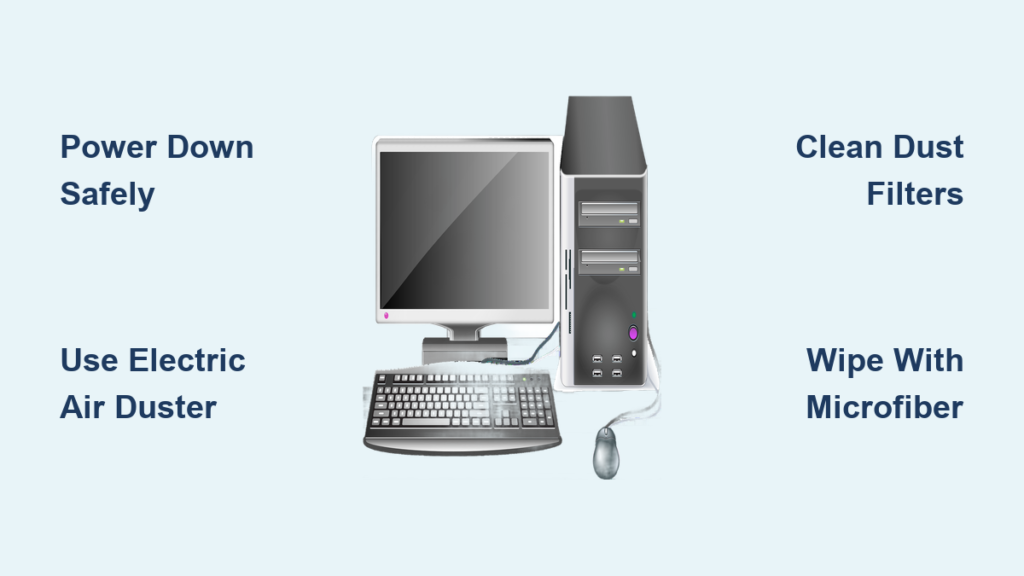
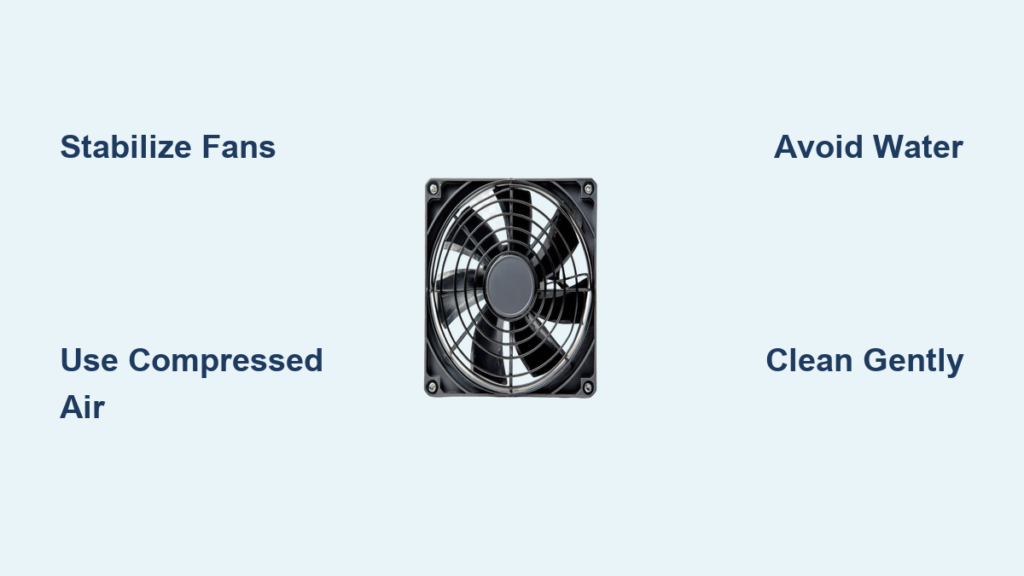
Dust buildup in your computer fans isn’t just unsightly—it’s a performance killer. Over time, grime clogs fan blades, restricts airflow, and forces your system to run hotter and louder. Left unchecked, this can lead to thermal throttling, component damage, or even system failure. The best way to clean computer fans combines safety, precision, and the right tools to restore optimal cooling without risking hardware damage. Whether you’re maintaining a gaming rig, workstation, or home PC, knowing how to clean your fans properly is essential.
This guide covers proven techniques—from quick surface cleaning to deep disassembly—so you can choose the right method based on dust levels, fan type, and your comfort level with hardware maintenance. You’ll learn how to avoid common mistakes, troubleshoot issues, and extend your fan’s lifespan with minimal effort.
Essential Safety Steps Before Cleaning

Power Down and Unplug the System
Always shut down your computer completely and unplug it from the wall before opening the case. Even when powered off, capacitors can retain charge, so wait 2–3 minutes after disconnecting power to allow them to discharge. Never clean fans while the system is running or plugged in—this risks electrical shock, component damage, or accidental spinning that could harm bearings.
Prevent Static Damage to Components
Static electricity can fry sensitive components. Ground yourself by touching a bare metal part of the case (like the power supply housing) before handling internal parts. For added safety, use an anti-static wrist strap connected to a grounded surface. Work on a non-conductive surface like wood or rubber—never carpet.
Stop Fans from Spinning During Cleaning
Never let fans spin freely during cleaning. When a fan spins unexpectedly—due to compressed air or vacuum suction—it can generate back-EMF (reverse voltage), potentially damaging the motherboard or fan controller. More commonly, spinning under force wears out bearings or bends blades. Always stabilize the fan:
• Use a wooden skewer or matchstick inserted between blades
• Hold the hub gently with a finger
• Apply force only when the fan is locked in place
Choose the Right Cleaning Method for Your Needs
Damp Rag and Brush Technique for Routine Maintenance
This method is ideal for routine cleaning without disassembly. It’s low-risk and highly effective for removing surface dust.
Use Soft, Non-Abrasive Tools
• Makeup brushes: Gentle on blades, perfect for loosening dust
• Car detail brushes: Great for tight spaces and larger fans
• Microfiber cloths: Lint-free and safe for wiping down blades
• Baby bottle brushes: Flexible and excellent for curved surfaces
Clean Without Moisture Damage
• Dampen a microfiber cloth slightly—never soak it
• Wipe each blade from base to tip, following the curve
• Use the brush first to dislodge caked-on dust, then wipe
• Finish with a dry cloth to remove residue and moisture
Pro Tip: Isopropyl alcohol (90% or higher) on a cloth dissolves stubborn grime and evaporates quickly, leaving no residue.
Compressed Air and Vacuum Combo for Fast Cleaning
This is the most popular method for fast, effective cleaning—especially for hard-to-reach areas.
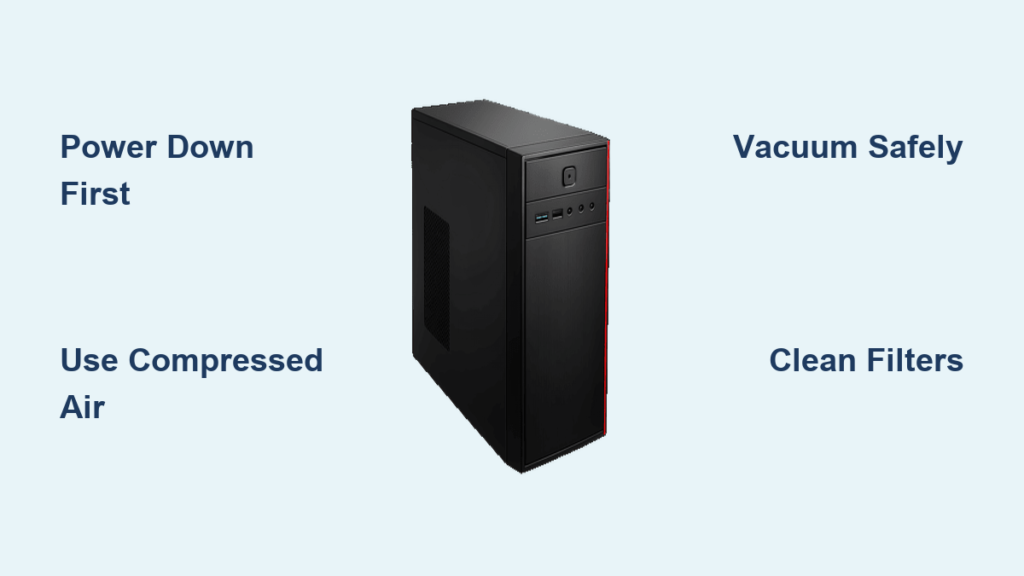
Use Compressed Air Safely
• Hold the can upright to avoid spraying liquid propellant
• Use short 1–2 second bursts—continuous spraying can over-spin fans
• Keep the nozzle 2–3 inches from the fan
• Always stabilize the fan with a skewer or finger
Warning: Over-spinning can exceed the fan’s rated RPM, damaging bearings and reducing lifespan.
Pair with a Vacuum for Dust Control
• Position a vacuum with a brush attachment near the fan
• Use compressed air to blow dust toward the vacuum intake
• This prevents dust from resettling on the motherboard or heatsinks
• Use an anti-static vacuum if possible to avoid ESD risks
Note: Avoid letting the vacuum’s suction spin the fan—this carries the same risks as compressed air.
Deep Clean with Fan Disassembly for Heavy Buildup
For heavily clogged or noisy fans, disassembly allows access to internal dust and bearings.
Remove and Disassemble the Fan
- Unscrew the fan from the case (usually 4 screws)
- Disconnect the power cable from the motherboard
- Peel back the hub sticker in the center
- Remove the retaining clip (C-clip or snap ring) with tweezers or pliers
- Slide off the blade assembly from the motor shaft
Clean Internal Components
• Wipe blades and housing with isopropyl alcohol (90%+) on a cloth or cotton swab
• Clean the motor shaft and bearing area thoroughly
• Let all parts air dry completely before reassembly
Re-Lubricate Sleeve Bearings (If Needed)
• Apply a tiny drop of light machine oil or silicone grease to the shaft
• Rotate the shaft manually to distribute the lubricant
• Wipe away excess—too much oil attracts dust
Limitation: Re-lubrication only extends life temporarily. If the fan is noisy or wobbly, replacement is often better.
Reassemble and Test
• Slide the blade assembly back onto the shaft
• Reinstall the retaining clip securely
• Replace the hub sticker to protect the bearing
• Test the fan outside the case before reinstalling
Avoid Common Cleaning Mistakes

Never Use Water or Submerge Fans
Water can seep into the motor and bearing, causing corrosion or short circuits. Even damp cloths should be used sparingly. Always use isopropyl alcohol instead of water—it cleans effectively and evaporates fast.
Don’t Apply Excessive Pressure
Fan blades are precision-balanced. Bending or warping them—even slightly—causes vibration, noise, and premature bearing wear. Clean gently with soft tools and minimal force.
Avoid Prolonged Compressed Air Use
Long bursts can:
• Over-spin fans and damage bearings
• Freeze components (canned air gets very cold)
• Push dust deeper into heatsinks or power supplies
Use short bursts only and stabilize the fan at all times.
Don’t Assume Mounting Compatibility
When replacing fans (e.g., in a Cooler Master Cosmos II), don’t assume physical space equals screw compatibility. The front may fit a 200mm fan, but the lower slot is likely 120mm, not 140mm. Always measure screw hole spacing:
• 120mm fans: ~105mm between diagonal holes
• 140mm fans: ~124.5mm
• 200mm fans: Varies—verify manufacturer specs
Optimize Fan Performance and Longevity
Upgrade to High-Quality Fans
Premium fans (like Thermalright) offer:
• Higher airflow (CFM) and static pressure
• Quieter operation (lower dB)
• Better bearing life (FDB, rifle, or ball bearings)
• Improved balance and durability
While more expensive upfront, they reduce long-term maintenance and improve cooling efficiency.
Monitor Airflow Obstructions
Even clean fans can underperform if airflow is blocked. In cases like the Cosmos II, the HDD cage behind the front fan can restrict intake. Consider:
• Repositioning drives
• Adding direct-attach cooling
• Using drives with better thermal tolerance
Establish a Cleaning Schedule
How often you clean depends on your environment:
• Low dust (filtered air, no pets): Every 6–12 months
• Moderate dust (home office): Every 3–6 months
• High dust (carpet, pets, smoking): Every 1–3 months
Pro Tip: Pair fan cleaning with dust filter maintenance—filters trap particles but need regular cleaning to stay effective.
Troubleshoot Post-Cleaning Issues
Fan Won’t Spin After Cleaning
• Check that the power cable is securely reconnected
• Test the fan on another header or use a Molex adapter
• Ensure no moisture remains in the motor
• Verify the fan wasn’t damaged during disassembly
Fan Is Noisy or Vibrating
• Inspect blades for damage or warping
• Confirm the fan is properly seated and screws are tight
• Check for bearing wear—especially in older sleeve-bearing fans
• If noise persists, replacement is recommended
Reduced Airflow Despite Cleaning
• Look for residual dust in heatsinks or radiators
• Ensure the fan is installed in the correct orientation (intake vs. exhaust)
• Verify no cables or components are blocking airflow
• Test fan speed in BIOS or software like HWMonitor
Key Takeaways for Cleaning Computer Fans
The best way to clean computer fans depends on your system’s condition and your technical comfort. For most users, the damp rag and brush method combined with short bursts of compressed air is sufficient for routine maintenance. For heavy buildup, disassembly and deep cleaning restores performance and can extend fan life.
Always prioritize stabilizing fans, avoiding moisture, and using the right tools. With regular cleaning every 3–6 months, your system will run cooler, quieter, and last longer. If a fan shows signs of wear—noise, wobble, or failure—replacement is often more cost-effective than repeated cleaning.
Next Step: Schedule your first cleaning session today. Set a calendar reminder for your next maintenance window based on your environment.
Frequently Asked Questions About Cleaning Computer Fans
How often should I clean my computer fans?
Clean fans every 3–6 months in typical home environments. Systems in dusty areas (with pets, carpets, or smoking) may need cleaning every 1–3 months. Always inspect visually and clean when dust is visible on blades or grilles.
Can I use a regular vacuum cleaner to clean fans?
Yes, but use it carefully. Use a brush attachment and position it near the fan to capture dust—never let the suction spin the blades. Spinning fans during cleaning can damage bearings or generate harmful voltage. An anti-static vacuum is preferred.
Is it safe to use water to clean computer fans?
No. Water can penetrate the motor and cause corrosion or short circuits. Use isopropyl alcohol (90% or higher) on a cloth instead. It evaporates quickly and leaves no residue. Never submerge fans in any liquid.
Can I lubricate my fan bearings?
Only sleeve-bearing fans can be safely re-lubricated with a tiny drop of light machine oil. Ball, FDB, and rifle bearings are sealed and not user-serviceable. Re-lubrication may help temporarily but won’t fix worn bearings.
Should I disassemble fans to clean them?
Disassembly is only necessary for heavy dust buildup or noisy operation. It allows full access to internal parts but increases risk. For routine cleaning, use a brush and compressed air without removing the fan.
When should I replace a fan instead of cleaning it?
Replace fans if you notice:
• Persistent grinding or clicking noises
• Visible blade damage or wobble
• Failure to spin after cleaning
• Age over 3–5 years (especially sleeve-bearing models)
If cleaning takes more time than a new fan costs, replacement is the smarter choice.