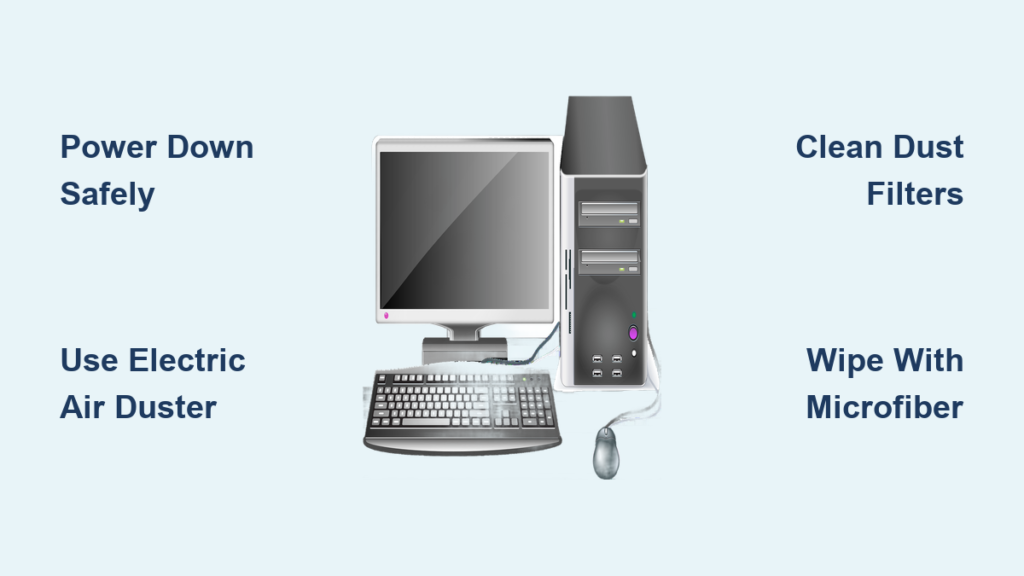
Dust buildup inside your computer isn’t just a cosmetic issue—it’s a major threat to performance and longevity. Over time, dust clogs fans, insulates heat-producing components, and forces your system to run hotter and louder. The best way to clean dust from computer internals safely and effectively involves using the right tools, following a precise sequence, and avoiding common mistakes that could damage sensitive hardware. This guide delivers a proven, step-by-step method that takes less than 10 minutes and keeps your PC running at peak efficiency.
You’ll learn how to power down safely, use an electric air duster properly, clean dust filters, and tackle sticky residues like smoke or pet hair. Whether you’re maintaining a gaming rig or a work-from-home desktop, this routine prevents overheating, extends component life, and ensures quiet, reliable operation. Let’s get your system spotless and running cool.
Power Down and Discharge Before Cleaning
Never skip safety—protect yourself and your hardware before opening the case.
Shut Down and Unplug Completely
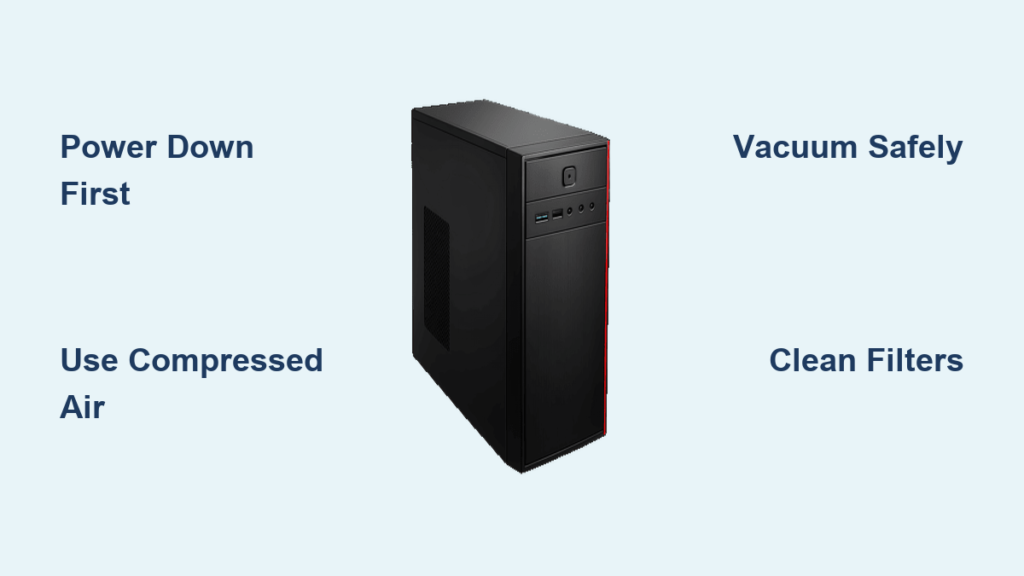
Turn off your PC through the operating system, then flip the power switch on the back of the power supply to “OFF.” Unplug the power cable and all peripherals—HDMI, USB, Ethernet, and audio. This eliminates any risk of electrical shock or accidental startup during cleaning.
Drain Residual Power Safely
Press the power button 5–10 times after disconnecting power. This discharges stored electricity in the motherboard and PSU capacitors, reducing the chance of electrostatic damage when you touch internal parts.
Set Up a Safe and Effective Cleaning Area
Your environment matters—clean in a space that protects your PC and prevents dust from spreading.
Choose a Hard, Non-Carpeted Surface
Work on a hard floor like tile, concrete, or wood. Avoid carpets, which generate static and release more dust. A garage, laundry room, or basement is ideal for containing debris.
Prevent Static Damage
Touch a grounded metal object—like a radiator pipe or metal desk frame—before handling internal components. For extra protection, wear an anti-static wrist strap, especially if removing RAM or GPU.
Use the Right Tools to Clean Your PC Safely
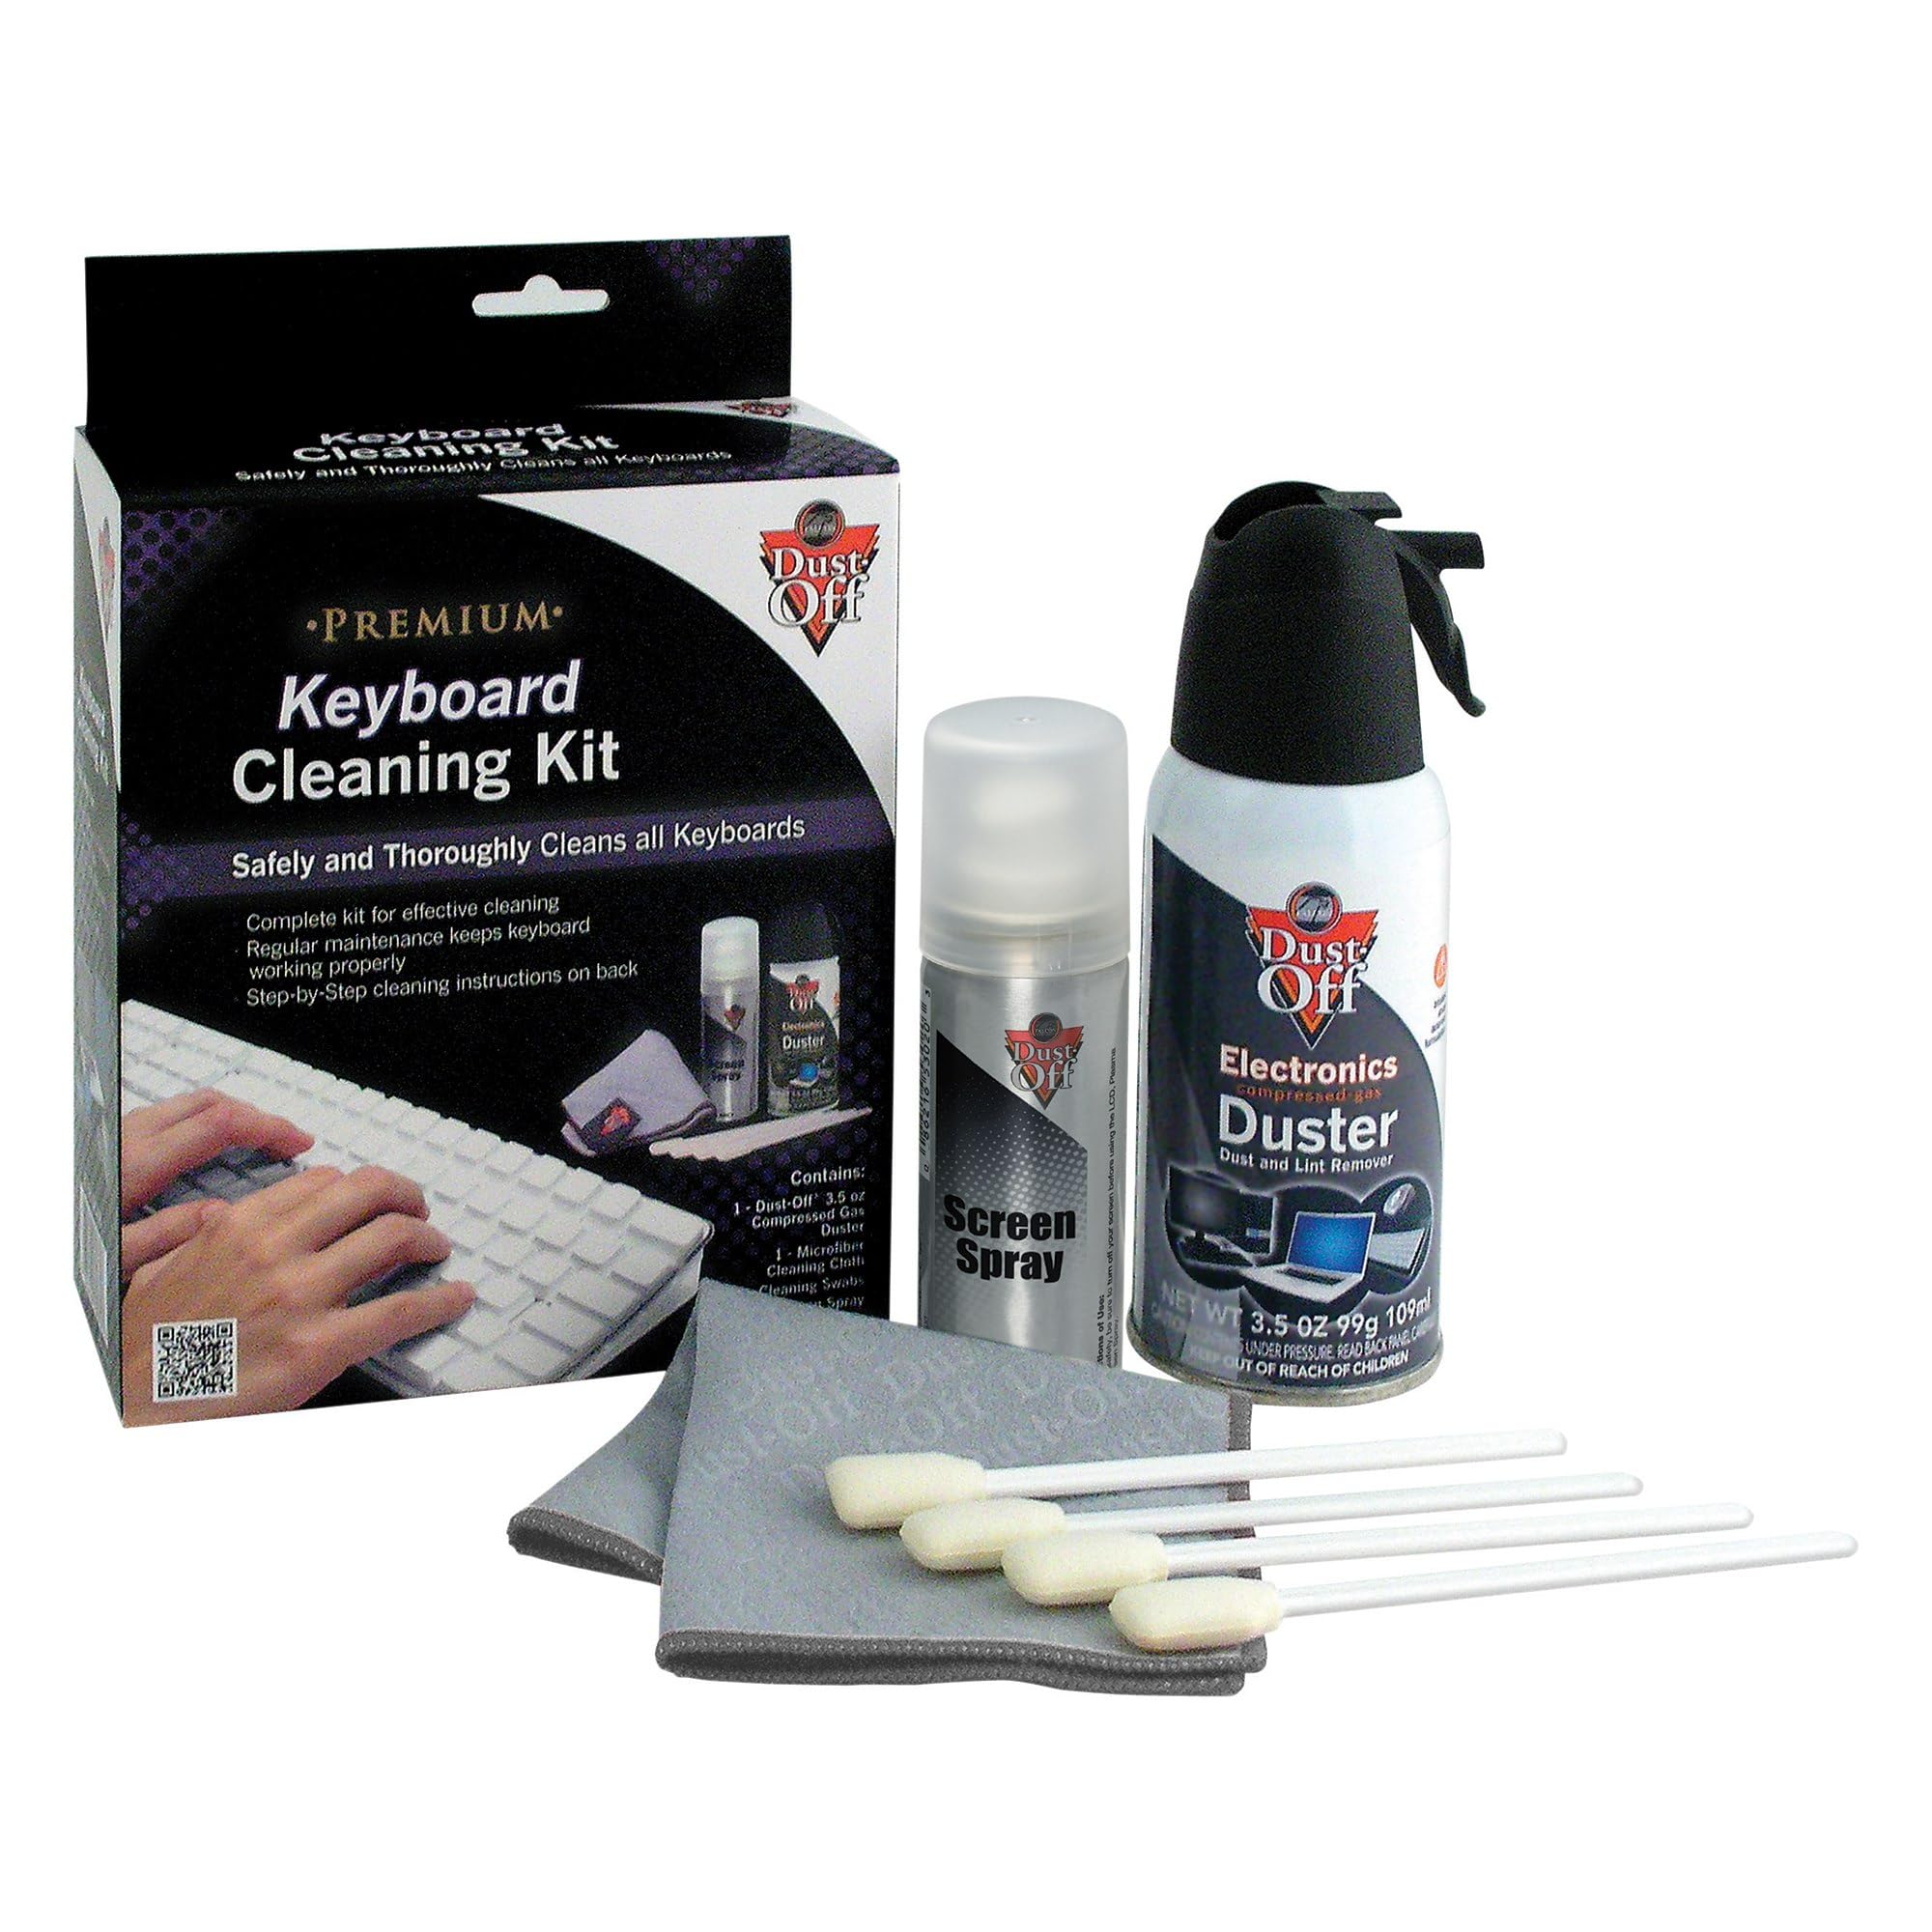
Using improper tools can scratch surfaces or cause electrical damage—stick to what works.
Must-Have Cleaning Tools
• Electric air duster – Blows dust without freezing components or leaving moisture
• Microfiber cloth – Lint-free and safe for wiping glass, metal, and plastic
• Automotive detail brush – Gently loosens dust in tight spots like heatsink fins
Optional but Helpful Add-Ons
• Vacuum with narrow nozzle – Sucks up dislodged dust (keep it 1–2 inches from components)
• 70% isopropyl alcohol – Removes sticky grime when applied to a cloth
• Dust filters – Reinstall or add new ones to reduce future buildup
Tools You Should Never Use
• ❌ Canned air – Can release freezing condensation that damages circuits
• ❌ Paper towels – Scratch surfaces and leave lint behind
• ❌ Cotton rags – Generate static and shed fibers
Remove All Case Panels for Full Access
Maximize visibility and airflow so you can clean every corner thoroughly.
Open the Case Completely
• Pop off the tempered glass side panel (most modern cases are tool-free)
• Remove top and front panels if they block fans or filters
• Take off rear and PSU shroud panels to expose exhaust vents
Pro Tip: Clean both sides of each panel—dust accumulates on the inside just like the outside.
Blow Out Dust with an Electric Air Duster
This is the most effective step—done right, it removes 90% of dust in minutes.
Use Proper Air Duster Technique
• Hold the nozzle at a 45° angle to avoid pushing dust deeper
• Use short bursts, not continuous airflow
• Work from top to bottom so falling dust doesn’t recontaminate cleaned areas
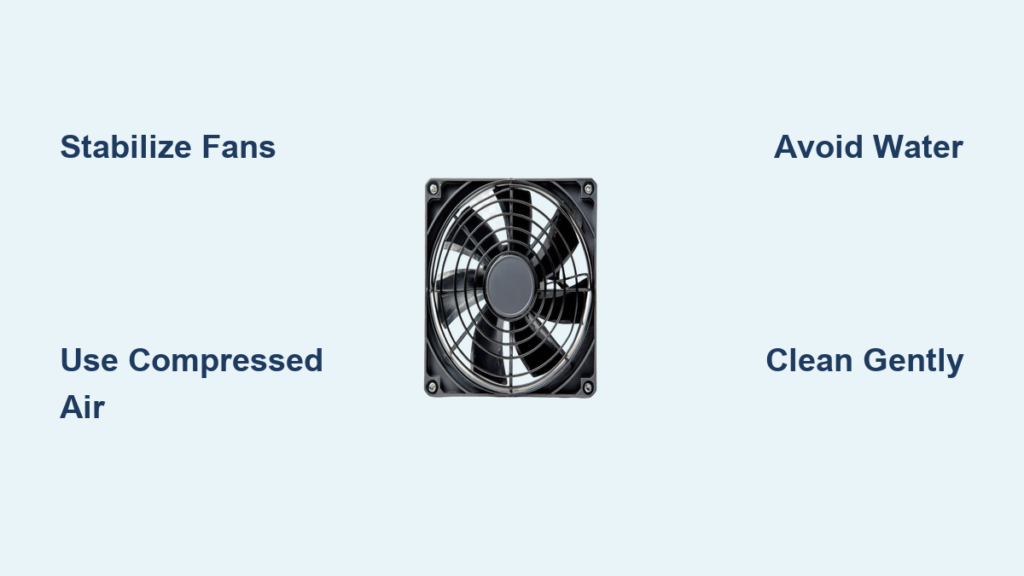
• Never spin fans at high speed—use quick bursts or hold blades gently
Target These Key Areas
• Fans – Intake, exhaust, CPU cooler, GPU
• Motherboard – Around VRM heatsinks, chipset, M.2 slots
• GPU – Heatsink fins, shroud, backplate
• CPU cooler – Between heatsink fins
• PSU exhaust – Clean from the outside vent
• Radiator and fans – If using liquid cooling
• Crevices – PCIe slots, cable corners, behind drive cages
Wipe Down Surfaces with a Microfiber Cloth
After blowing out dust, remove residue and fingerprints for a professional finish.
Clean Components Without Risk
• Use a dry microfiber cloth for most surfaces
• For glass panels, apply glass-safe cleaner to the cloth, not the panel
• Wipe in circular motions to prevent streaks
• For sticky grime, lightly dampen the cloth with 70% isopropyl alcohol
Critical Rule: Never spray liquid directly on any component—always apply to the cloth first.
Wash and Reinstall Dust Filters

These small parts play a big role in long-term dust control.
Clean Filters the Right Way
• Remove filters (usually at the front or bottom intake)
• Rinse under running water—both sides
• Let them dry completely (overnight is best) before reinstalling
• Check for tears or warping
Recommended Frequency: Clean every 3–6 months, or monthly if you have pets or smoke.
Handle Tough Contaminants Like Smoke or Pet Hair
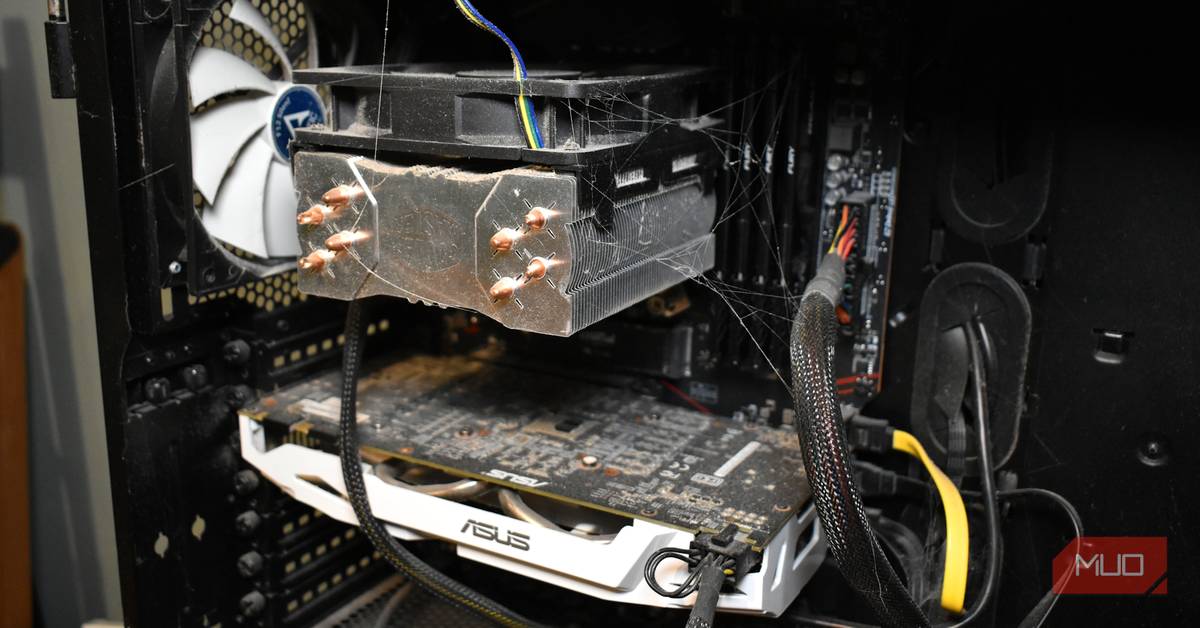
Not all dust is the same—adjust your approach for stubborn buildup.
Remove Smoke Residue (Tar/Resin)
• Look for sticky, yellowish grime on fans and heatsinks
• Wipe with an alcohol-dampened microfiber cloth
• Repeat until clean and increase cleaning frequency
Deal with Pet Hair and Dander
• Use a vacuum nozzle first to remove clumps
• Follow with air duster to blow out remaining debris
• Install extra dust filters or elevate your PC off the floor
Clean Non-Smoke Sticky Grime
• Dampen cloth with 70% isopropyl alcohol
• Test on a small area first
• Allow full drying before powering on
Reassemble and Test Your PC
Put everything back together and verify it works perfectly.
Reattach Panels and Filters
• Secure all side, top, and front panels
• Ensure clips or screws are fully engaged
• Reinstall clean, dry dust filters
Power On and Check Functionality
• Plug in all cables
• Flip the PSU switch to “ON”
• Boot up and confirm:
✅ All fans spin normally
✅ No strange noises
✅ System boots without errors
✅ Idle temperatures are stable
Stick to a Smart Cleaning Schedule
Prevent problems before they start with regular maintenance.
How Often to Clean Based on Your Environment
| Environment | Cleaning Frequency |
|---|---|
| Standard home | Every 3–6 months |
| Dusty rooms or carpets | Every 3 months |
| Pet owners | Every 3 months |
| Smokers | Monthly |
| Gaming or rendering rigs | Every 3 months |
Prevent Future Dust Buildup
• Install dust filters on all intake fans
• Elevate the PC off the floor
• Maintain positive air pressure (more intake than exhaust)
• Use a room air purifier in high-dust areas
Frequently Asked Questions About Cleaning Your PC
How often should I clean dust from my computer?
Clean every 3–6 months depending on your environment. If you have pets, smoke, or use your PC for gaming or rendering, clean every 3 months to prevent overheating and maintain performance.
Can I use canned air to clean my PC?
No. Canned air can release freezing condensation that damages sensitive electronics. Use an electric air duster instead—it’s safer, reusable, and doesn’t risk moisture buildup.
Is it safe to use a vacuum cleaner on PC components?
Yes, but with caution. Use a vacuum with a narrow nozzle and keep it 1–2 inches away from components to avoid static. Never let the nozzle touch any part. Many experts use this method successfully when combined with a brush.
Should I remove the GPU or RAM to clean them?
Not usually. Most dust can be removed with an air duster while components are installed. Only remove them if they’re heavily clogged and you’re comfortable reseating them—always ground yourself first.
Can dust cause my computer to overheat or crash?
Yes. Dust acts as insulation, trapping heat in the CPU, GPU, and PSU. This leads to higher temperatures, thermal throttling, fan noise, and even sudden shutdowns. Regular cleaning prevents these issues.
Do I need to open the power supply to clean it?
No. Never open the PSU casing—it contains high-voltage capacitors even when unplugged. Only clean the exterior vents with short bursts of air from the outside.
Key Takeaways for the Best Way to Clean Dust from Computer
The best way to clean dust from computer systems combines safety, precision, and the right tools. Power down completely, use an electric air duster at a 45° angle, wipe surfaces with a microfiber cloth, and wash dust filters regularly. Avoid canned air, direct liquid application, and spinning fans at high speed.
A clean PC runs cooler, quieter, and lasts longer—especially under heavy loads like gaming or video editing. By cleaning every 3–6 months and using dust filters, you protect your investment and maintain peak performance. Make this quick maintenance habit part of your routine, and your computer will stay fast, stable, and dust-free for years.