You just unboxed a new Mac or are planning your next upgrade — now it’s time to build the best Apple computer setup for your lifestyle and work. Whether you’re a developer, designer, student, or remote professional, your Mac performs at its peak only when paired with the right peripherals, displays, and workflow optimizations. Apple’s ecosystem thrives on seamless integration, but unlocking its full potential requires smart hardware choices and software tuning.
This guide walks you through every component of a high-performance Apple setup — from choosing between MacBook Air and Mac Studio to pairing with pro displays, external SSDs, ergonomic peripherals, and essential apps. You’ll learn how to match your configuration to your specific needs, avoid costly mistakes, and future-proof your investment. By the end, you’ll have a fast, clean, and powerful workspace that feels effortless to use every day.
Choose the Right Mac for Your Workflow
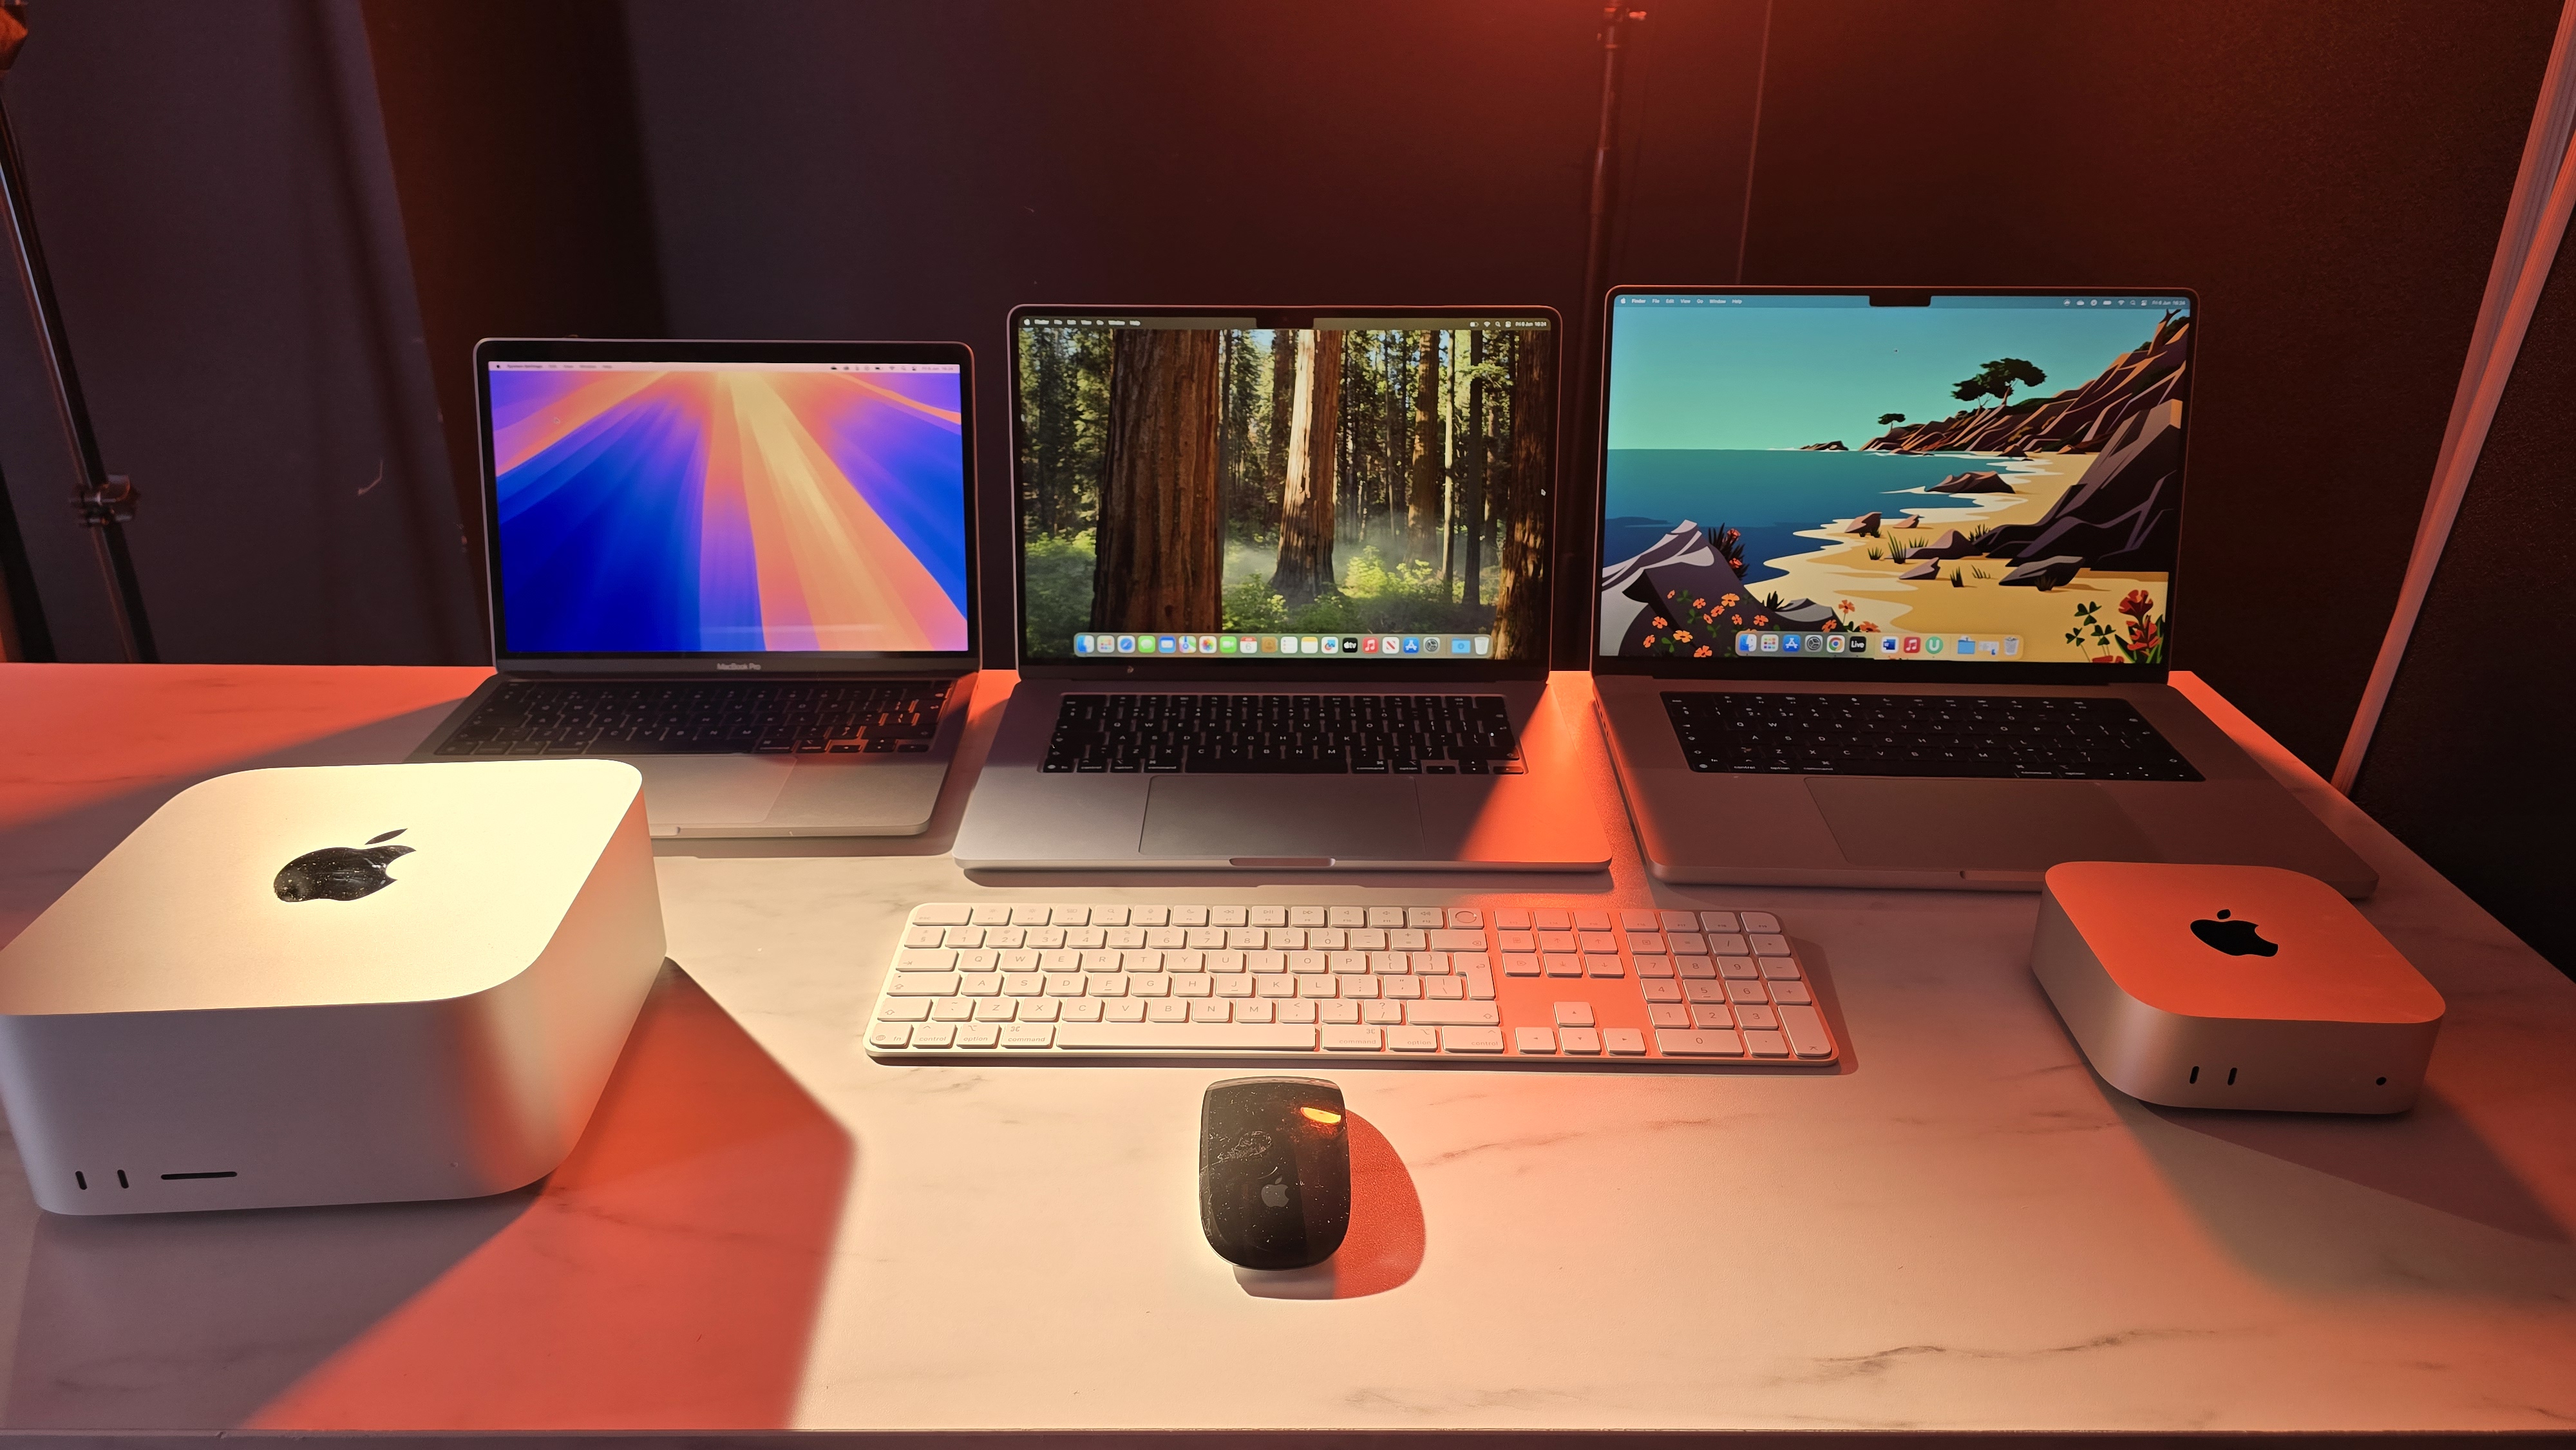
Your Mac is the foundation of your setup. The model you pick should align with your performance demands, portability needs, and budget.
MacBook Air M2/M3: Lightweight Daily Driver
The MacBook Air with M2 or M3 chip delivers excellent performance for everyday tasks. Its fanless design ensures silent operation, while the 13- or 15-inch Liquid Retina display offers vibrant colors and sharp text. With up to 18 hours of battery life, it’s perfect for students, travelers, and mobile professionals.
It handles web browsing, Zoom calls, document editing, and light photo work smoothly. Avoid it for 4K video editing, 3D rendering, or heavy coding. The base 8GB RAM and 256GB SSD suit casual use, but upgrade to 16GB RAM if you run multiple apps or virtual machines.
Pro Tip: Pair with an external monitor and use Stage Manager to keep windows organized across screens.
MacBook Pro 14” and 16”: Powerhouse for Pros
The MacBook Pro 14” and 16” with M3, M3 Pro, or M3 Max chips are built for demanding workloads. Their XDR displays deliver extreme brightness, deep blacks, and P3 color accuracy — ideal for video editors, developers, and designers.
These models support up to two external displays, offer fast SSD speeds, and deliver up to 22 hours of battery life. The M3 Pro handles 6K video in Final Cut Pro; the M3 Max powers multi-stream 8K timelines.
Choose at least 16GB RAM (32GB recommended) and a 512GB SSD minimum. The active cooling system prevents throttling during long renders.
Mac Mini M2/M2 Pro: Compact Desktop Power
The Mac Mini is Apple’s most affordable desktop. The M2 model fits basic home office needs, while the M2 Pro version packs a 10-core CPU, 19-core GPU, and support for two 6K displays.
It’s perfect for developers, media centers, or minimalist desks. Since it lacks a built-in display or keyboard, you’ll need to add those separately. Mount it behind a monitor using a VESA adapter to save space.
Connect via Thunderbolt 4 and HDMI 2.1 for maximum flexibility. It’s an excellent hub for a clean, cable-managed setup.
Mac Studio M2 Max/M2 Ultra: Ultimate Creative Machine
For professionals needing extreme performance, the Mac Studio with M2 Max or M2 Ultra is unmatched. It supports up to six displays, 192GB unified memory, and PCIe expansion.
Used by 3D artists, audio engineers, and film editors, it replaces bulky workstations. Its quiet blower system maintains performance during long exports.
Connect pro audio interfaces, RAID storage, and multiple high-res monitors. This is the core of a future-proof creative suite.
Mac Pro (2019): For PCIe Expansion Only
The Intel-based Mac Pro remains relevant only if you need PCIe card support — such as capture cards, GPU expanders, or specialized hardware. Apple has not yet released an Apple Silicon version.
Unless you rely on specific PCIe accessories, the Mac Studio outperforms it in speed, efficiency, and thermal management.
Pick the Best Display for Your Mac
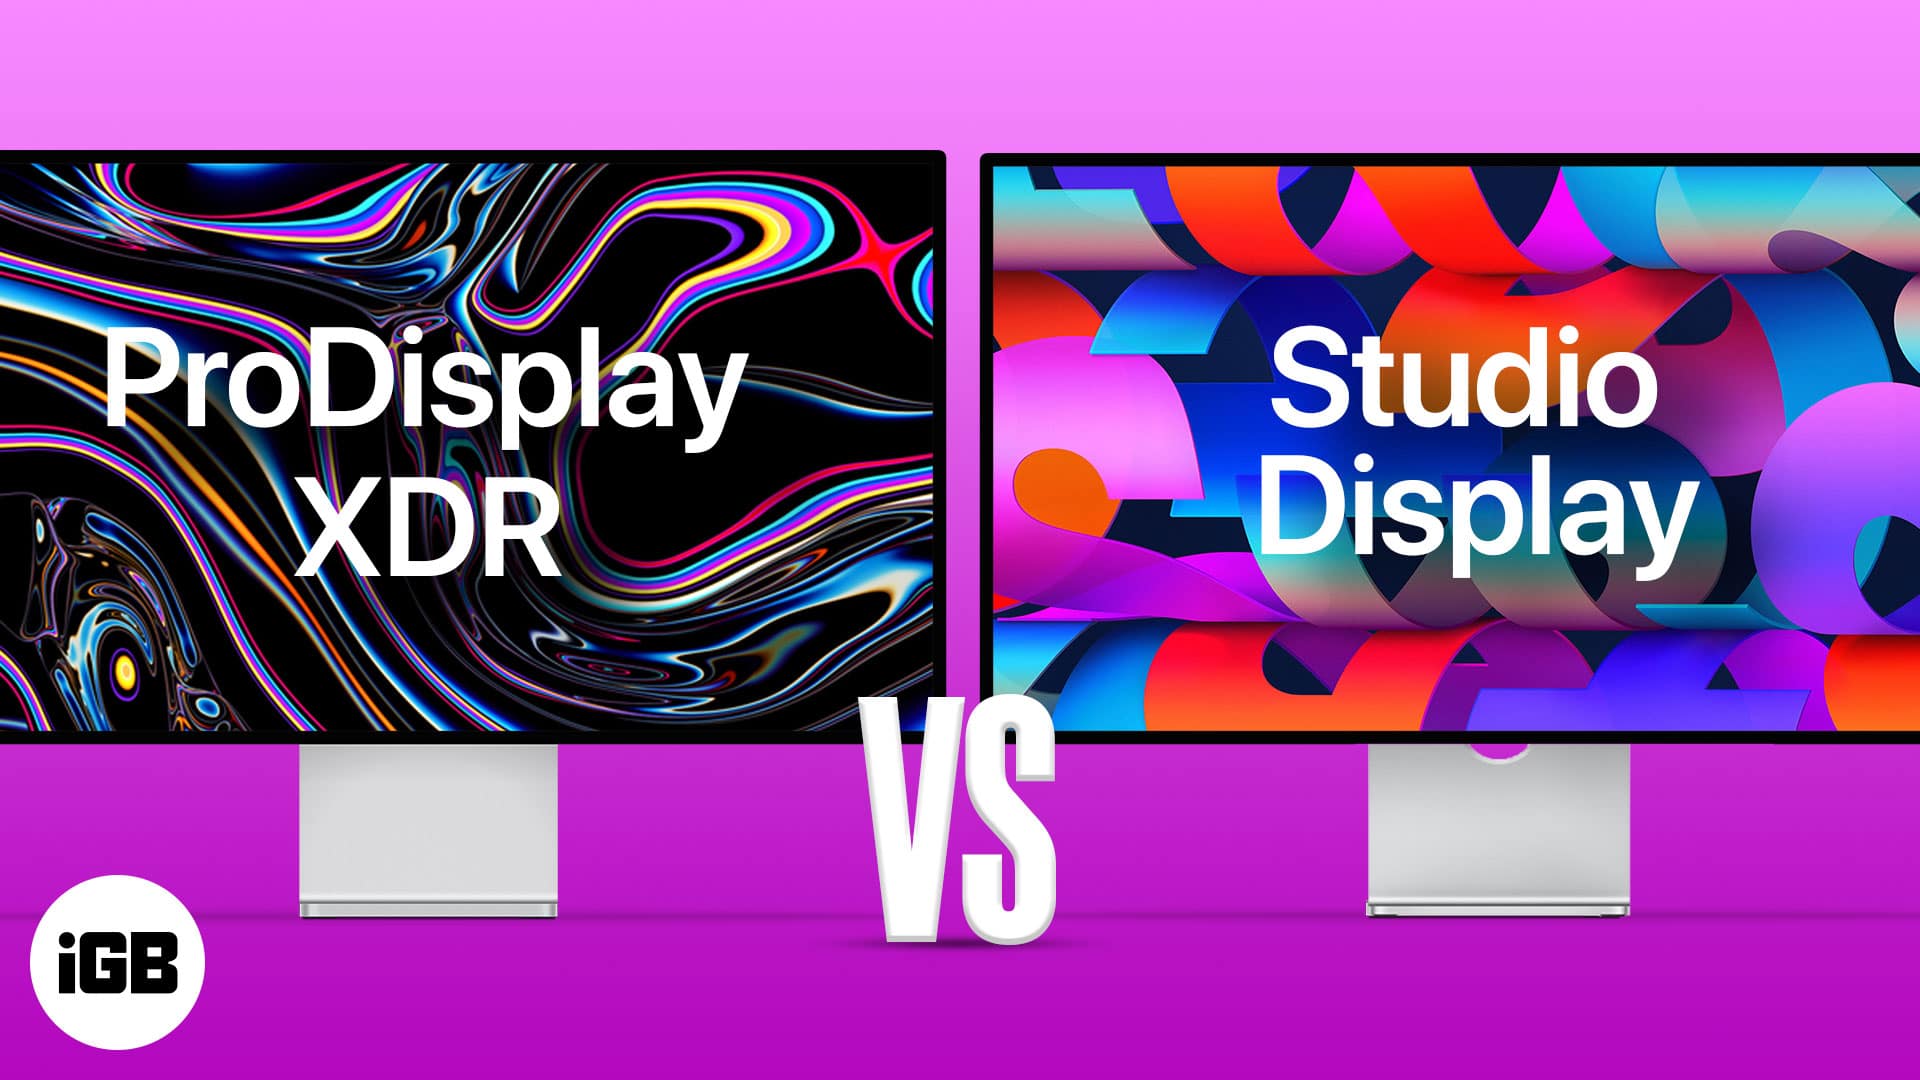
A high-quality display enhances productivity, color accuracy, and viewing comfort — especially for creative or multitasking workflows.
Apple Studio Display: Premium All-in-One
The 27-inch 5K Retina Studio Display offers stunning clarity, 600 nits brightness, and P3 wide color. It includes a 12MP Center Stage camera, studio mics, and a six-speaker sound system powered by an A13 chip.
It pairs perfectly with Mac Studio or MacBook Pro. A single Thunderbolt cable delivers power (up to 96W), video, and data.
The standard stand isn’t height-adjustable — the $400 upgrade adds tilt and height control. At $1,599, it’s premium but ideal for a sleek, integrated look.
Pro Display XDR: Reference-Grade Monitor
The 32-inch 6K Pro Display XDR is designed for color-critical work like film grading and photography. With 1,000 nits sustained brightness and true blacks, it’s the most accurate display Apple offers.
It requires the $400 Pro Stand or $999 VESA mount. Total cost can exceed $5,000 — only justified for professionals who need absolute color fidelity.
Pair with Mac Studio or MacBook Pro M3 Max for full performance.
LG UltraFine 4K and 5K: Apple-Approved Alternatives
Apple co-developed the LG UltraFine 24” 4K and 27” 5K displays for seamless macOS integration. They support P3 color, brightness controls in System Settings, and USB-C power delivery.
The 4K model (~$700) is a great value for MacBook Air or Mac Mini users. Newer LG models without the “UltraFine” label may lack macOS features but still perform well.
Third-Party Monitors: Save Money Without Sacrificing Quality
Many users choose high-end third-party monitors like Dell UltraSharp, ASUS ProArt, or Samsung Neo G8. Look for USB-C with power delivery and Thunderbolt 3/4 support.
Use Lunar to sync brightness with macOS. For pro work, ensure the monitor covers P3 color, offers 600+ nits brightness, and supports hardware calibration.
Upgrade Your Keyboard and Trackpad

Comfortable input devices reduce strain and boost efficiency during long work sessions.
Magic Keyboard: Seamless macOS Integration
Apple’s Magic Keyboard (with or without Touch ID) features low-profile scissor switches and long battery life. The numeric pad version helps accountants and data workers.
It pairs instantly with any Mac and has perfect key labeling. However, its flat angle may cause wrist fatigue.
Fix this by using a negative tilt with a gel pad or adjustable stand.
Magic Trackpad: Precision Gesture Control
The Magic Trackpad’s large glass surface enables multi-touch gestures — swipe between desktops, pinch to zoom, force click for previews.
Essential for desktop Macs. Charges via Lightning (older) or USB-C (M1 and later). Use with MacBook Pro for consistent feel across devices.
Third-Party Keyboards and Mice
Many prefer mechanical keyboards like Keychron K-series, which support macOS shortcuts, backlighting, and dual-device Bluetooth.
For mice, the Logitech MX Master 3S offers thumb scroll, gesture button, and Flow for cross-computer control. Avoid cheap USB adapters — they can cause lag or disconnections.
Expand Storage and Connectivity
Even the fastest Mac needs external tools for full productivity.
Thunderbolt Docks: One-Cable Simplicity
Use a Thunderbolt 4 dock like CalDigit TS4 or OWC Dock to connect multiple devices with one cable.
Features:
• Power delivery (up to 98W)
• Multiple USB-A and USB-C ports
• HDMI or DisplayPort output
• SD card reader
• 10Gb Ethernet (on high-end models)
Reduces clutter and enables instant docking for laptops.
External SSDs: Fast, Expandable Storage
Apple’s internal SSDs are fast but expensive to upgrade. Add external storage for projects, backups, or Time Machine.
Top picks:
• Samsung T7 Shield – Rugged, 1050 MB/s
• SanDisk Extreme Pro – Up to 2000 MB/s
• OWC Envoy Pro FX – Thunderbolt 3, 2800 MB/s, macOS-optimized
Format as APFS (Mac-only) or exFAT (cross-platform).
NAS for Team and Creative Workflows
For large file libraries, use a NAS like Synology DS923+ or QNAP TS-464. Set up RAID for redundancy.
Use with Time Machine over network (macOS 11+) or mount as a shared drive. Access files remotely via iCloud or third-party apps.
Improve Audio and Video Quality
Elevate your calls, streams, and creative output with pro-grade gear.
Headphones and Headsets
For calls and focus:
• AirPods Pro (2nd gen) – Seamless pairing, ANC, spatial audio
• Sony WH-1000XM5 – Best noise cancellation
• Audio-Technica ATH-M50x – Studio monitoring clarity
Use wired for low-latency editing, Bluetooth for mobility.
Studio Audio Setup
Content creators should use:
• Microphones: Shure MV7, Rode NT-USB
• Audio Interfaces: Focusrite Scarlett 2i2
• Monitors: KRK Rokit or Yamaha HS5 with subwoofer
Calibrate in Audio MIDI Setup for best performance.
Upgrade Your Webcam
MacBooks have good 1080p cameras, but for pro streaming:
• Logitech Brio 4K – HDR, low-light performance
• Sony ZV-E10 – Mirrorless camera as webcam
• Elgato Facecam – 4K, no compression
Use Camo or OBS to route the signal.
Optimize macOS for Peak Performance
Fine-tune settings and install essential tools to maximize efficiency.
Key System Settings
Adjust:
• Keyboard: Enable key repeat and reduce delay
• Trackpad: Turn on tap-to-click and three-finger drag
• Displays: Set to “Default for display”
• Energy Saver: Prevent sleep during work
• Dock: Enable auto-hide
Use Accessibility settings to adjust cursor size and scroll speed.
Must-Have Apps
Install:
• CleanMyMac X – Safe cleanup
• BetterSnapTool – Window snapping
• Lunar – Monitor brightness sync
• Karabiner-Elements – Remap keys
• Stats – CPU, temp, battery in menu bar
Developers: Homebrew, iTerm2, VS Code, Docker.
Automate with Shortcuts
Use macOS Shortcuts to:
• Resize images in bulk
• Rename files by date
• Open work apps at startup
• Toggle dark mode by time
Sync across devices via iCloud.
Security and Backup Strategy
Protect your data:
• Enable FileVault
• Use strong password + Touch ID
• Install updates promptly
• Run Malwarebytes monthly
Backup with:
• Time Machine (external drive or NAS)
• Backblaze (cloud, unlimited)
• iCloud Drive (settings, photos, documents)
Follow the 3-2-1 rule: 3 copies, 2 media types, 1 offsite.
Design an Ergonomic Workspace

Comfort impacts focus, health, and long-term productivity.
Desk and Chair Setup
Use an adjustable desk (e.g., Uplift, Fully Jarvis). Choose a chair with lumbar support — Herman Miller Aeron or Steelcase Leap.
Position monitor top at eye level. Sit arm’s length away.
Cable Management
Use sleeves, clips, or under-desk trays. Label cables for easy ID.
Prefer USB-C devices to reduce adapters. Use a power strip with USB ports.
Lighting and Ambience
Add warm LED strips (Nanoleaf, Philips Hue) for mood.
Use a 5000K daylight desk lamp for reading. Reduce screen glare with a monitor hood.
Best Apple Computer Setup by Use Case

Match your configuration to your role.
Student Setup: Portable and Budget-Friendly
• Mac: MacBook Air M2 (8GB/256GB)
• Display: None (use library monitors)
• Peripherals: Anker hub, Logitech K380
• Storage: 1TB Samsung T7
• Extras: AirPods, iPad for notes
Total: ~$1,500
Developer Setup: Power and Multitasking
• Mac: MacBook Pro 14” M3 Pro (18GB/512GB)
• Display: LG 27UL850-W 4K
• Dock: CalDigit TS4
• Keyboard: Keychron K6
• Mouse: Logitech MX Master 3S
• Storage: OWC SSD + Synology NAS
Runs Xcode, Docker, and VMs smoothly.
Creative Studio Setup: High-End Production
• Mac: Mac Studio M2 Max (32GB/1TB)
• Display: Pro Display XDR
• Audio: Shure SM7B + Focusrite + KRK
• Storage: 4TB SSD array
• Backup: Time Machine + Backblaze
• Peripherals: Magic Trackpad, mechanical keyboard
Handles 8K video and 3D rendering.
Home Office Setup: Clean and Professional
• Mac: Mac Mini M2 (16GB/512GB)
• Display: Apple Studio Display
• Keyboard/Mouse: Magic Keyboard + Trackpad
• Network: Wi-Fi 6E + Ethernet
• Extras: AirPods Pro, printer
Minimal footprint, maximum polish.
Key Takeaways for Building the Best Apple Computer Setup
The best Apple computer setup combines the right Mac with high-quality peripherals, smart software choices, and an ergonomic environment. Start with a core machine that matches your workload — MacBook Air for mobility, Mac Studio for power. Pair it with a 5K or 6K display, use a Thunderbolt dock to simplify cabling, and invest in comfortable input devices.
Optimize macOS with essential apps and automation. Protect your data with Time Machine and Backblaze. Design a workspace that supports focus and health.
Your ideal setup evolves — plan for the future by buying more RAM and storage upfront. When built thoughtfully, your Apple workspace becomes a seamless, powerful extension of your creativity and productivity.
Frequently Asked Questions About Best Apple Computer Setup
What is the best Mac for most users?
The MacBook Air M2 or M3 is the best choice for most people. It offers strong performance, long battery life, and portability at a reasonable price. It’s ideal for students, remote workers, and general productivity tasks.
Can I use non-Apple monitors with Mac?
Yes. Many third-party monitors like LG UltraFine, Dell UltraSharp, and ASUS ProArt work well with Macs. Use models with USB-C or Thunderbolt for power and video. Install Lunar to sync brightness with macOS.
Do I need a dock for my MacBook?
A Thunderbolt dock is highly recommended if you connect multiple devices. It lets you plug in with one cable, providing power, data, display, and Ethernet. It simplifies your desk and improves workflow.
How much RAM should I get for my Mac?
For general use, 16GB is ideal. For video editing, 3D work, or development, get 32GB or more. Apple Silicon Macs can’t be upgraded later — always buy more RAM than you think you need.
Is the Pro Display XDR worth it?
Only if you do color-critical work like film grading or professional photography. For general use, the Apple Studio Display or LG UltraFine 5K offers excellent value without the high cost.
How do I back up my Mac properly?
Use Time Machine on an external drive or NAS. Add Backblaze for offsite cloud backup. Keep iCloud Drive enabled for documents and settings. Follow the 3-2-1 rule for full protection.