Is your computer slowing down during gaming or video editing? One of the most common culprits is overheating. The best way to check computer temperature is by using Core Temp, a lightweight, accurate, and free tool that reads real-time data directly from your CPU’s built-in sensors. Unlike generic monitoring software, Core Temp taps into the Digital Thermal Sensor (DTS) inside Intel, AMD, and VIA processors, delivering per-core temperature readings with exceptional precision.
In this guide, you’ll learn how to safely install Core Temp, interpret temperature data, enable system-wide alerts, and use it to prevent long-term hardware damage. Whether you’re troubleshooting sudden crashes or optimizing cooling performance, this step-by-step walkthrough ensures you’re always in control of your system’s thermal health.
Install Core Temp Safely
To get the most accurate temperature readings, you must install Core Temp from a trusted source. Since it runs at a low system level, downloading from unofficial sites risks malware or tampered binaries.
Download From Official Source
Always get Core Temp directly from the developer’s website:
– Choose the correct version: 32-bit or 64-bit
– Look for the latest release: Core Temp 1.21 (October 3, 2026)
– Verify file integrity using SHA-256 and MD5 checksums
The program comes in a ZIP file—no installer required for portable use. Extract it to a folder of your choice and run CoreTemp64.exe (or CoreTemp32.exe). You can also install it system-wide for automatic startup.
Verify File Integrity
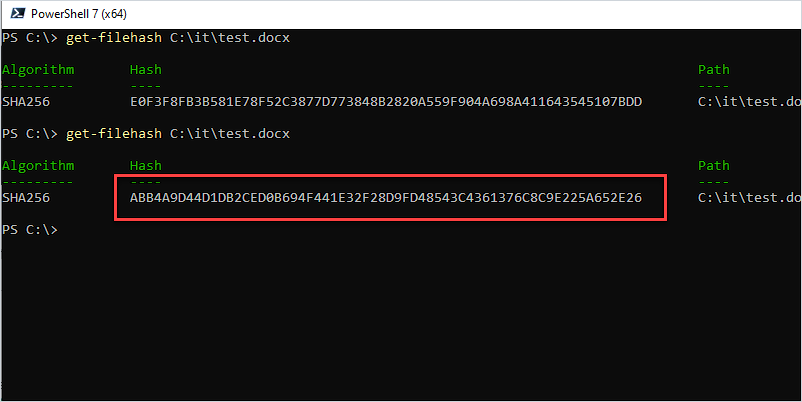
Ensure your download hasn’t been compromised:
1. Open Windows PowerShell
2. Run: