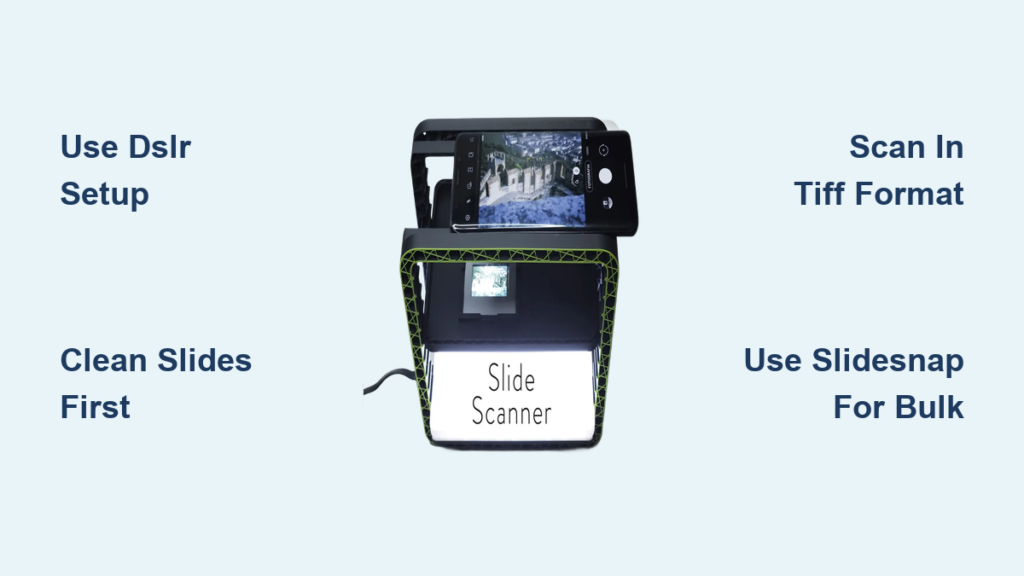
Digitizing old 35mm slides isn’t just about technology—it’s about preserving memories with clarity and care. The best way to scan slides into a computer balances image quality, time investment, and safety of your originals. Whether you have 120 or 12,000 slides, your ideal method depends on volume, budget, and how much control you want over the final digital files. From high-end film scanners like the Plustek OpticFilm 8200i Ai to fast DSLR copy setups using tools like the Skier Copy Box and Negative Lab Pro, real users have tested every option.
You don’t have to choose between speed and quality. Some, like OogieM with 30,000+ slides, use automated systems like SlideSnap for bulk work. Others, like zkarj, rely on the Epson V370 and VueScan for meticulous, archival-grade TIFFs. This guide breaks down proven methods based on real-world experiences—so you can pick the best approach for your collection.
Choose DIY vs. Professional Scanning
Your first decision—scan at home or send out—shapes everything from cost to risk.
DIY: Full Control, More Time
DIY scanning keeps your slides in your hands and lets you control resolution, file format, and color accuracy. It’s best if:
– You’re scanning irreplaceable family slides
– You want lossless TIFF or RAW master files
– You’re okay with a slow but steady process
One user scanned 24–40 frames per session using an Epson V370, letting scans run while doing other work. But at 2 minutes per slide, 400 slides could take 80 hours—though automation reduces active effort.
Professional Services: Fast but Risky
Services like Digmypics and ScanCafe offer bulk pricing and convenience. They’re ideal for:
– Large collections (500+ slides)
– Users short on time or technical comfort
– Projects where slight quality loss is acceptable
However, shipping risks damage or loss. One user found local labs charged 7x more than online services—making providers like Digmypics appealing despite the risk.
⚠️ Pro Tip: Use a hybrid strategy. Scan your most precious slides at home, send less critical ones out.
Use a Dedicated Film Scanner

For high-fidelity, hands-off scanning, dedicated film scanners deliver unmatched detail.
Plustek OpticFilm 8200i Ai: Best for 35mm Quality
The Plustek 8200i Ai is the top choice for serious digitizers because it offers:
– 4800 dpi optical resolution
– Digital ICE for automatic dust and scratch detection
– Support for mounted slides and film strips
Though slower than camera-based methods (about 2 minutes per scan), it’s favored over discontinued models like the Nikon CoolScan 5000—especially with VueScan software support.
✅ Why users love it: Excellent dynamic range, consistent color, and reliable dust removal.
❌ Downsides: Manual loading limits batch efficiency; not ideal for thousands of slides.
Epson Perfection V370: Best Budget Film Scanner
The Epson V370 is a cost-effective alternative that still delivers pro results:
– Scans up to 6 slides at once with the film holder
– 4800 dpi resolution
– Works flawlessly with VueScan for advanced controls
One user captured 48-bit color, 4800 dpi TIFFs and ran scans unattended—maximizing productivity.
📌 Key Insight: VueScan unlocks batch scanning, metadata tagging, and better color control than Epson’s native software.
Try DSLR Copy Setup for Speed & Quality
For fast, high-resolution results, a DSLR or mirrorless camera with a copy stand beats flatbed scanners in both speed and detail.
Arthur’s DSLR Method: Fastest High-Res Option
This method uses:
– A DSLR/mirrorless camera (e.g., Olympus OM-D E-M5 Mark II)
– A macro lens or close-up adapter
– A lightbox or copy box (e.g., Skier Copy Box 3)
– A copy stand for stability
– Negative Lab Pro for automatic color inversion
Why It Works
- Speed: One photo per slide (seconds vs. minutes)
- Quality: Can exceed 4800 dpi with sensor-shift high-res modes
- Flexibility: Handles 35mm, 110, 127, and Minox film
After setup, the workflow is simple:
1. Place slide in holder
2. Shoot with camera
3. Invert and correct in Lightroom using Negative Lab Pro
💡 NLP automates film type correction, color inversion, and grain reduction—no manual curves or levels needed.
Build or Buy a Copy System
You can assemble your own or buy a complete kit.
Complete Kit: Skier Copy Box 3
- Includes high-CRI LED lightbox (90+ CRI for accurate color)
- 35mm slide/negative holder
- Compact, portable design
- Easy to pair with any camera
DIY Option: Custom Lightbox
Some users built their own using:
– A 7-inch LED ceiling panel
– Diffusion layers (tracing paper or frosted acrylic)
– 3D-printed or wooden slide holder
⚠️ Warning: Low-CRI lights cause color casts. Always use 90+ CRI LEDs.
🔄 Pro Tip: Enable camera tethering to preview and adjust focus before capture.
Consider SlideSnap for High-Volume Projects

For users with thousands of slides, SlideSnap offers the fastest automated solution.
How SlideSnap Works
- Uses your DSLR/mirrorless camera
- Adds automated slide feeder and precision optics
- Scans 80 slides in under 5 minutes
One user reported:
– 1 minute per slide cleaning
– 3 minutes per slide cataloging
– But only seconds per scan
✅ Best for: Large collections where speed matters
❌ Cost: High upfront (~$1,000+)
SlideSnap Strip: For Negatives
Also available for film strips, this version handles 35mm negatives in batches—ideal for mixed-format collections.
🔍 OogieM noted: “I’m seriously considering it because of the wide variety of formats it handles.”
You can even rent a SlideSnap system from slidescan.com/rental to test before buying.
Compare File Formats & Post-Processing

How you save and edit scans affects long-term usability and quality.
Save Masters as TIFF or RAW
Always keep an unedited master file:
– TIFF: Lossless, archival standard
– RAW (DSLR): Maximum editing flexibility
– Avoid JPEG for originals—compression loses data
🛑 OogieM’s Rule: “You need to first capture everything as it is.” Dust and scratches should be removed in post, not during scan.
Edit in Affinity Photo or Lightroom
Post-processing is essential:
– Color correction
– Dust and scratch removal
– Sharpening and noise reduction
Tools used by users:
– Affinity Photo: One-time purchase, Photoshop alternative
– Lightroom + Negative Lab Pro: Fast batch inversion and correction
– VueScan: Built-in dust removal and grain reduction
✅ Pro Workflow:
1. Scan to TIFF/RAW
2. Invert and correct in NLP or VueScan
3. Manually clean dust in Affinity or Photoshop
4. Export JPEGs for sharing
Clean Slides Before Scanning
Dust, fingerprints, and fungus degrade scan quality.
Safe Cleaning Steps
• Blow off loose dust with a rocket blower
• Wipe gently with anti-static brush or microfiber cloth
• Use sensor cleaner (e.g., Eclipse) on stubborn spots—never alcohol
• Let dry completely before scanning
⚠️ Never use compressed air—it can contain moisture.
📸 zkarj: “None of these were great from the original scans.” Cleaning improves results dramatically.
Optimize Workflow for Efficiency
Even slow processes can be efficient with smart planning.
Batch Scanning Tips
• Scan full rolls or binders at once
• Use VueScan’s batch mode for unattended scanning
• Label folders by date or event during import
• Use filename templates: YYYYMMDD_Event_Slide001
Automate with Software
• VueScan: Schedule multi-slide batches
• Negative Lab Pro: Apply presets to hundreds of images
• Lightroom: Sync edits across similar slides
⏱️ zkarj: “I can be running the scanner while doing other things.” Passive time = smart time.
Handle Different Film Formats
Most advice focuses on 35mm, but other formats need special care.
Supported Formats
| Format | Best Scanning Method |
|---|---|
| 35mm slides/negatives | Plustek, Epson, DSLR, SlideSnap |
| 127, 110, Minox | DSLR with custom holder |
| Medium format (120) | DSLR with stitching or high-res scanner |
| Glass plates | DSLR, tripod, 30+ min per scan (OogieM) |
📚 OogieM scanned 1,500 glass plate negatives at 2400 dpi—each taking 30 minutes.
DSLR stitching allows ultra-high-res captures by combining multiple macro shots into a panorama.
Key Takeaways for Scanning Slides Into a Computer
The best way to scan slides into a computer depends on your needs:
– For < 100 slides: DIY with Epson V370 or DSLR setup
– For 100–500 slides: Plustek 8200i Ai or DSLR with Skier Copy Box
– For 500–5,000 slides: Blend DIY with professional services
– For 5,000+ slides: Consider SlideSnap or rental system
Start with a test batch. Clean your slides, choose your method, and save masters as TIFF or RAW. Use tools like Negative Lab Pro or VueScan to streamline editing. Whether you’re preserving family history or archiving decades of photography, the right method lets you digitize your past with confidence.
Frequently Asked Questions About Scanning Slides
What is the fastest way to scan 35mm slides?
The SlideSnap system is the fastest, scanning 80 slides in under 5 minutes. For DIY, a DSLR with a Skier Copy Box takes seconds per slide after setup.
Can I use a regular flatbed scanner for slides?
Yes, but only if it has a transparency unit (like the Epson V370). Standard flatbeds can’t illuminate film properly and will produce dark, unusable scans.
Should I scan slides as TIFF or JPEG?
Always scan to TIFF or RAW for master files. JPEG is compressed and loses data. Use JPEG only for sharing final versions.
Does Digital ICE remove all dust and scratches?
Digital ICE helps but isn’t perfect. It can blur fine details or miss deep scratches. Always inspect scans and clean dust manually in post.
Can I scan old, damaged slides?
Yes. Scan them as-is to preserve the original state, then use software like Affinity Photo or Photoshop to repair tears, dust, and color shifts in post-processing.
Is it worth buying a film scanner or using a service?
It pays off if you have 500+ slides. At online service rates, a $600 scanner breaks even after about 1,000 scans. For fewer slides, services like Digmypics may be more cost-effective.