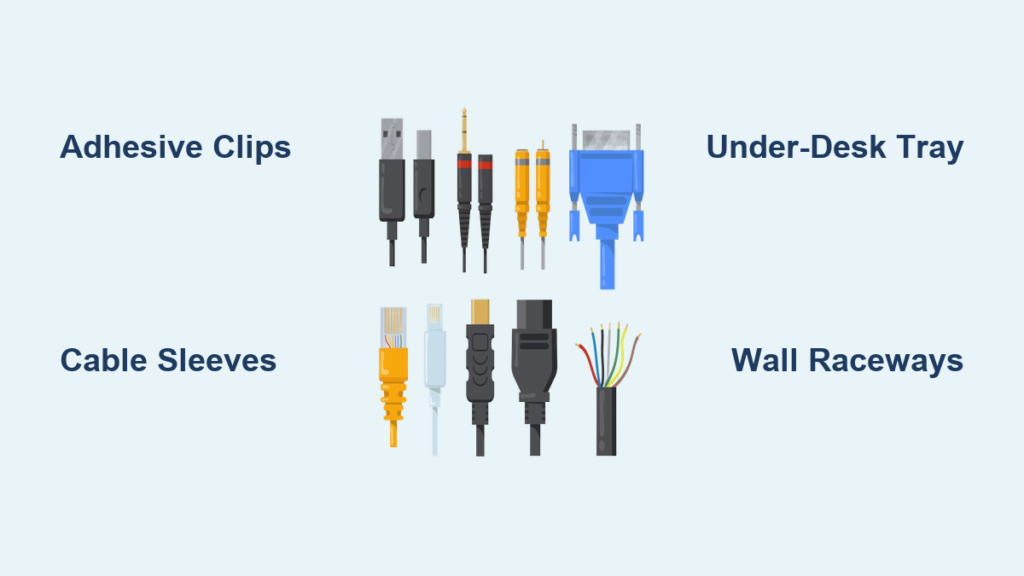
Tangled computer cables draped across your desk or pooling on the floor ruin the look of any workspace. Beyond being unsightly, loose cords create tripping hazards, attract dust, and make it harder to move devices when needed. The best way to hide computer cables involves a smart mix of planning, affordable tools, and simple techniques that keep wires organized and out of sight—without making them impossible to access. From adhesive clips and cable sleeves to under-desk trays and wall raceways, this guide walks you through proven, step-by-step solutions that work for home offices, gaming setups, and media desks alike. You’ll learn how to reduce clutter, avoid common mistakes, and maintain a clean, professional-looking workspace.
Whether you’re starting from scratch or fixing a messy setup, you don’t need expensive gear to succeed. With just a few basic supplies and 30 minutes of effort, you can transform a chaotic tangle into a streamlined system. This guide covers everything from routing power cords neatly to using wireless tech that cuts cable count. By the end, you’ll know exactly how to hide computer cables effectively—no matter your desk type or budget.
Plan Your Cable Layout Before Hiding Anything
Skipping planning leads to messy results, even with the best cable management products. Take time to assess and organize your cords before securing them.
Identify Which Cables You Actually Need
List every cord connected to your computer: power, monitor, keyboard, mouse, speakers, webcam, Ethernet, and USB peripherals. Separate them into power cables (AC adapters, surge protectors) and data cables (HDMI, USB, Ethernet). This helps you spot redundancies—like using both wired and wireless devices—and decide which can be removed or replaced.
Measure and Secure Excess Length
Most cables are longer than necessary, leading to messy coils. Use velcro straps or zip ties to bundle and compress slack. Never cut non-modular cables—instead, wrap excess into a loose loop and secure it with a reusable tie. Aim to route cables in straight lines from device to outlet to reduce strain and visibility.
Stick Adhesive Cable Clips to Control Cord Paths
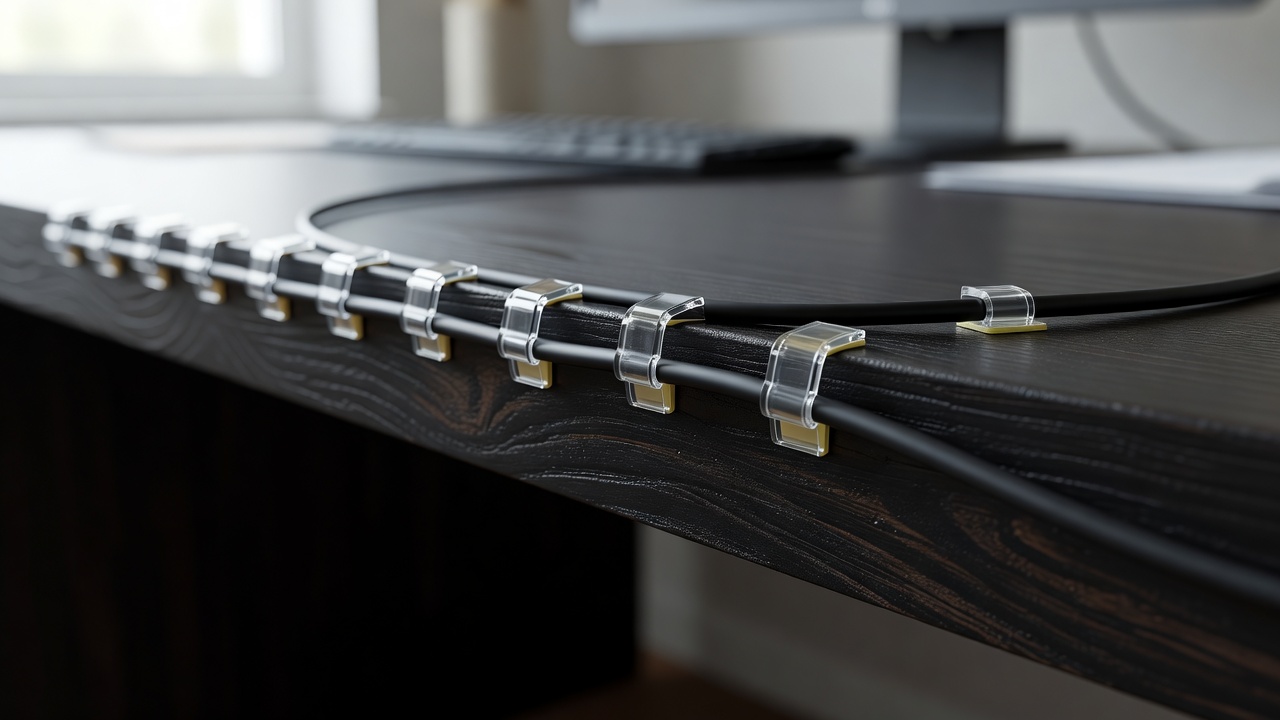
Adhesive clips are low-cost, easy to install, and perfect for guiding cables along clean routes.
Mount Clips Along Desk Edges for Neat Downward Routing
Place plastic or silicone cable clips along the back or side edge of your desk. Run thick cords like monitor power and laptop chargers through them so they drop straight down instead of dangling. Space clips every 6–8 inches to prevent sagging. Choose low-profile, paintable clips for a discreet finish.
Direct All Cables Toward a Central Power Source
Use clips to guide every cord toward a single surge protector or power strip mounted under or behind the desk. Avoid crisscrossing paths—this creates tangles and makes future changes harder. For delicate surfaces, pick removable adhesive clips that won’t peel paint or leave residue.
Install an Under-Desk Cable Tray for Hidden Storage

A cable tray keeps power strips and cords off the floor and out of sight while staying within reach.
Choose and Mount the Right Tray for Your Desk
Select a metal or plastic tray that spans at least two-thirds of your desk width. Attach it with screws for durability or strong adhesive mounts for renters. Position it near the back edge so it’s hidden when you’re seated. Make sure it’s deep enough to hold your power strip and bundled cables.
Organize and Label Cables Inside the Tray
Place your surge protector inside the tray and plug in all devices. Group similar cords—like USB peripherals or audio cables—with velcro straps. Use small labels or colored tape to mark each cable (e.g., “Monitor,” “Printer”) so you can unplug the right one fast during troubleshooting.
Bundle Wires with Cable Sleeves for a Clean Look
Cable sleeves turn a spaghetti-like mess into one sleek, contained line.
Pick a Sleeve That Fits Your Cable Bundle
Measure the total thickness of your grouped cords. A 10–15mm braided sleeve works for most desktop setups. Choose black or gray to match common desk colors. Look for zip-up or split-down designs for easier installation around existing connections.
Run the Sleeved Bundle Along Desk Legs or Walls
Slide the sleeve over your bundled cables from the desk down to the floor. Secure both ends with adhesive anchors or clips. For a seamless look, route the entire bundle along the side of a desk leg or wall using low-profile mounts. Avoid sharp bends to prevent internal wire damage.
Conceal Cables Along Walls Using Raceways

Wall-mounted raceways hide multiple cords in a flat, paintable channel that blends into your room.
Install Snap-On Cord Covers on Baseboards or Walls
Use adhesive or screw-mounted plastic raceways to run cables from your desk to the outlet. These low-profile channels hold power and data lines together in a straight path. Ideal for permanent setups, they protect cords from foot traffic and pets.
Paint Raceways to Match Your Wall Color
Many raceway models are paintable. Use leftover wall paint to camouflage the cover completely. This makes the cord path nearly invisible. Always leave a slight bend radius at corners to avoid stressing the wires inside.
Hide Wires Behind Monitors with Smart Accessories

Monitors are major cable sources—smart routing keeps cords off your desk surface.
Use Monitors with Built-In Cable Channels
Some monitors feature hollow stands or rear grooves that let you thread HDMI and power cables through the center. This hides cords from view and reduces clutter. If you’re shopping for a new monitor, look for models with integrated cable management.
Attach Magnetic or Adhesive Clips to the Monitor Back
For monitors without built-in routing, use small magnetic clips (if the back is metal) or adhesive-backed holders to secure dangling cords. Perfect for webcams, USB hubs, or headset chargers. Position clips vertically to guide wires straight down toward the desk.
Reduce Cable Count with Wireless and USB-C Upgrades
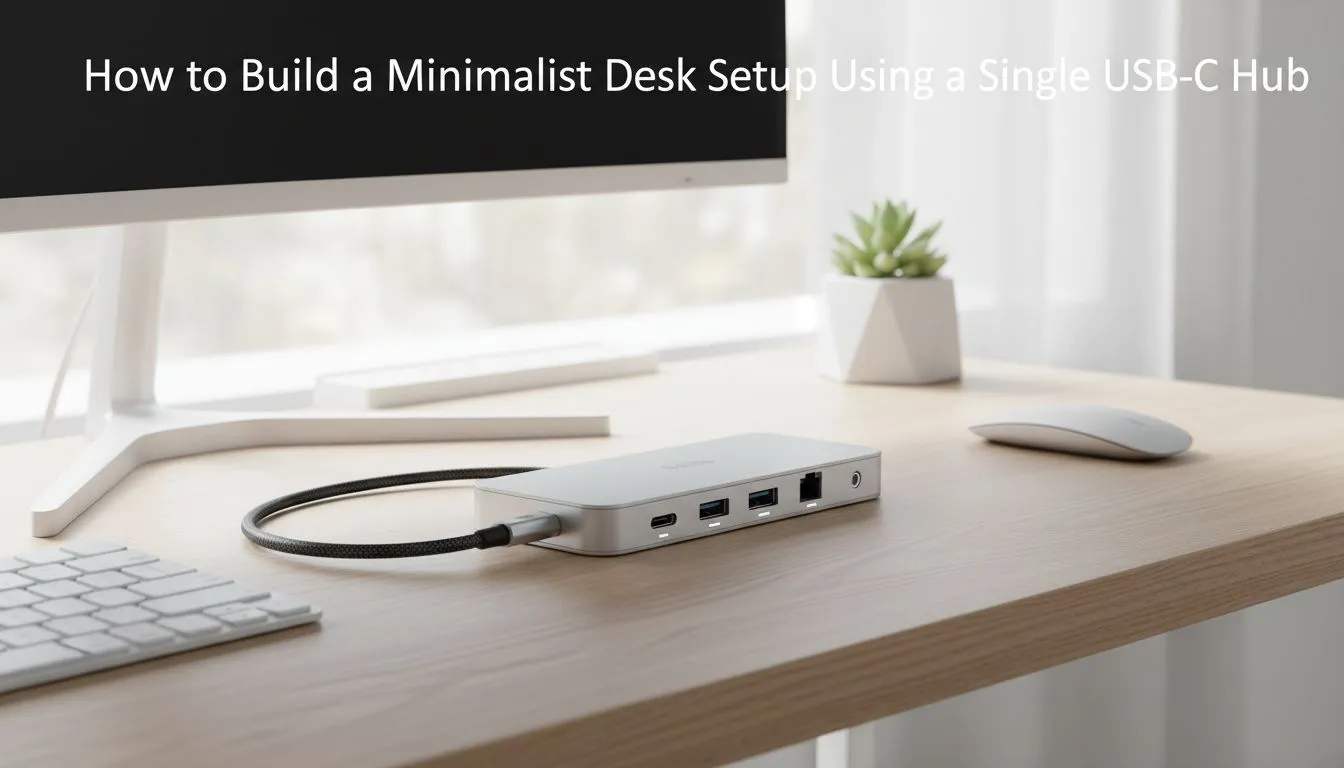
Fewer cables mean less to hide. Upgrade your gear to minimize physical connections.
Replace Wired Peripherals with Wireless Versions
Switch to Bluetooth or RF-based keyboards, mice, and headsets. This eliminates at least 2–3 cords instantly. Make sure your PC has built-in Bluetooth or use a slim USB adapter that won’t block adjacent ports.
Connect Devices with USB-C for Power and Data
If your laptop or monitor supports USB-C, use a single cable for charging, video output, and peripheral data. This replaces separate power bricks, HDMI cables, and USB hubs. Choose a certified cable rated for 60W+ power delivery and 4K video to avoid performance issues.
Keep Your Setup Tidy with Regular Maintenance
Even the best cable management degrades over time without upkeep.
Do a Monthly Cable Check
Unplug and inspect cords once a month. Look for fraying, loose connections, or dust buildup under trays. Re-tighten velcro straps, reposition clips, and untangle any snags before they worsen. This prevents small issues from becoming big problems.
Label Every Cable for Quick Identification
Use printable tags, colored tape, or a label maker to mark each cord. Labeling saves time when you need to unplug a specific device or troubleshoot a connection. Update labels if you add or remove gear.
Key Takeaways for Hiding Computer Cables Effectively
The best way to hide computer cables isn’t about one magic product—it’s a system that starts with planning and builds through smart routing and organization. Begin with adhesive clips and velcro straps for quick improvements, then add cable sleeves or an under-desk tray for long-term neatness. For permanent setups, wall raceways offer the cleanest finish. Reduce clutter at the source by switching to wireless peripherals and USB-C connections whenever possible. With regular maintenance and clear labels, your workspace will stay clean, safe, and easy to manage.
Start today by unplugging your setup and sorting cables into power and data groups. Use what you already have—like rubber bands or old zip ties—to bundle cords while you shop for better tools. A few simple changes can make a huge difference in how your workspace looks and functions.
Frequently Asked Questions About Hiding Computer Cables
How can I hide computer cables without drilling holes?
Use adhesive cable clips, under-desk trays with sticky mounts, or snap-on raceways that adhere to walls. These require no drilling and work well for renters or temporary setups.
What is the easiest way to organize desk cables?
Start by grouping cords with velcro straps, then use adhesive clips to route them straight down from the desk. Label each cable and plug everything into a single power strip for a quick, clean fix.
Can I paint cable raceways to match my wall?
Yes, most plastic raceways are paintable. Use a small brush and leftover wall paint to blend the cover into your room’s color for a nearly invisible cord path.
How do I hide cords on a standing desk?
Use flexible cable sleeves or braided wraps that move with the desk. Mount a power strip to the underside and secure cables with stretchable velcro ties that won’t snap during height adjustments.
Does wireless charging reduce cable clutter?
Yes, wireless charging pads eliminate the need for device-specific charging cables. Use them for phones, earbuds, and some laptops to cut down on daily-use cords.
Are cable management boxes worth it?
Yes, for simple setups. Cable management boxes hide power strips and cords in a single enclosure. Choose one with ventilation and cable slots for better airflow and routing options.