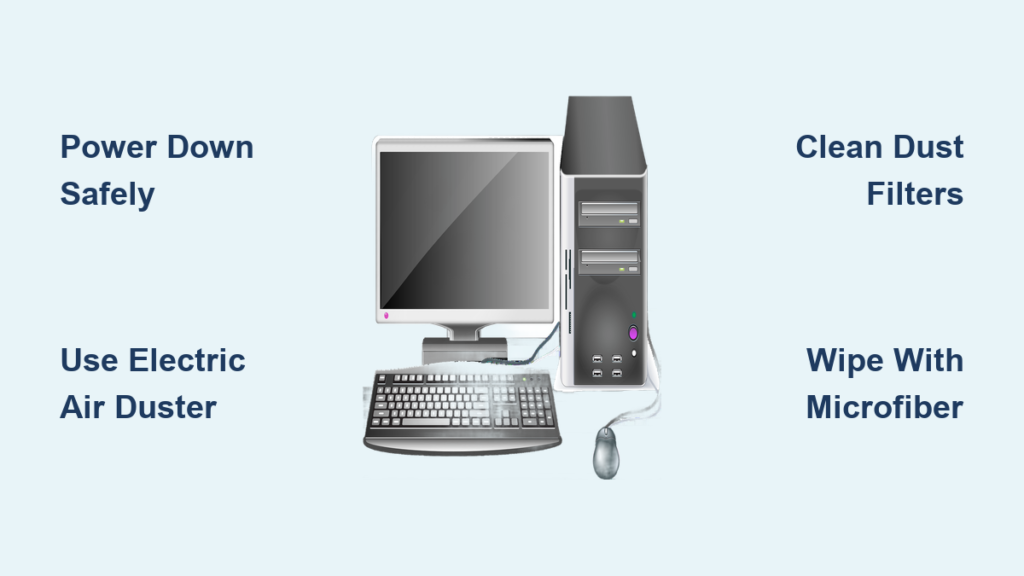
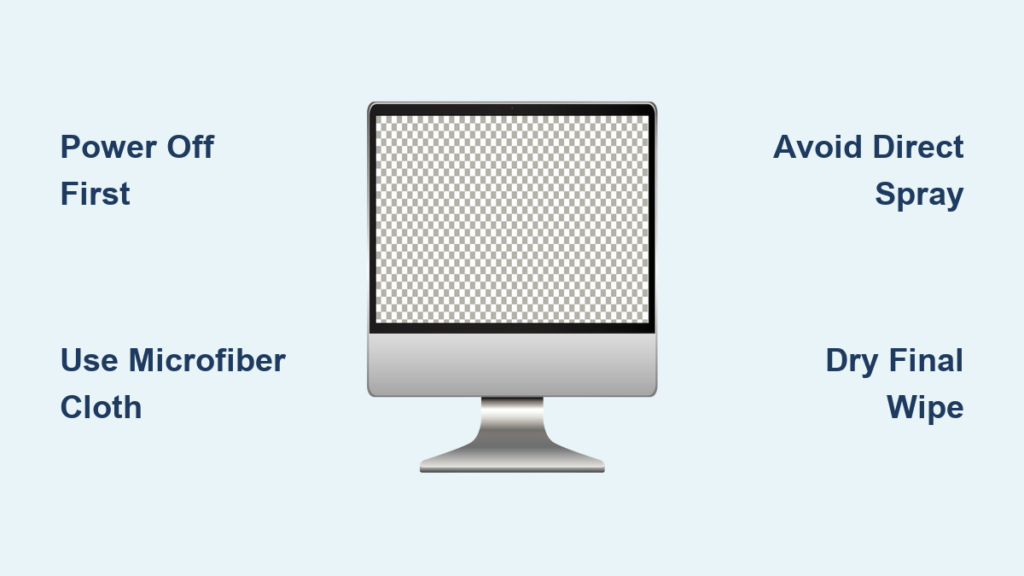
A dirty computer monitor can make your screen look hazy, reduce visibility, and even strain your eyes during long work sessions. Whether it’s fingerprints, dust, or smudges from accidental touches, knowing the best way to clean a computer monitor safely and effectively is essential—especially if you want to avoid damaging the delicate display. The good news? Most cleaning jobs don’t require harsh chemicals or complicated tools. With the right technique and materials, you can restore your screen to crystal-clear clarity in minutes. This guide walks you through every step, from essential safety rules to tackling stubborn grime—without risking streaks, scratches, or permanent coating damage.
You’ll learn how to clean your monitor the safe way using simple tools like microfiber cloths and distilled water, when to use a vinegar solution, and what products to avoid at all costs. Whether you have a matte, glossy, or touchscreen display, this guide covers all monitor types and real-world cleaning challenges.
Power Off and Unplug Before Cleaning
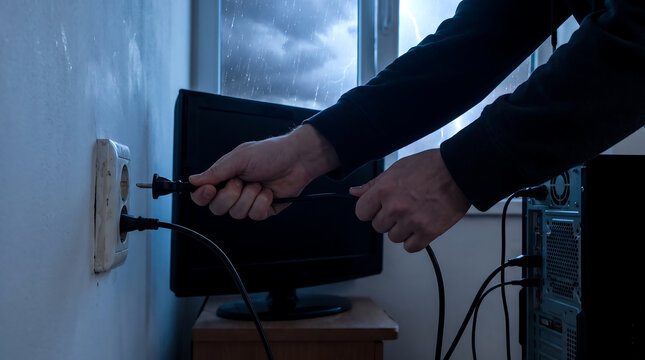
Always turn off and unplug your monitor before cleaning. A powered-on screen can conduct electricity, increasing the risk of shock if moisture is involved. Additionally, a dark screen makes dust, smudges, and streaks easier to see, helping you clean more thoroughly. Leaving the monitor unplugged also prevents electrical interference that could affect internal components. Wait until the screen is completely dry before plugging it back in and powering it on.
Never Spray Liquid Directly on the Screen
Never spray any liquid directly onto the monitor. Liquids can seep into the display’s edges, damaging internal layers or causing short circuits. Even small amounts of moisture may penetrate the porous plastic surfaces of LCDs at a microscopic level. Instead, apply cleaning solution to a cloth first. This controlled method ensures you use only the amount needed, minimizing risks while maximizing cleaning effectiveness.
Start With a Dry Microfiber Cloth
Begin every cleaning session with a dry, lint-free microfiber cloth. Most everyday dirt—like dust and light fingerprints—can be removed without any liquid. Gently wipe the screen in circular motions, folding the cloth to create a thicker, softer surface. A clean cloth prevents scratches; a dirty one can grind debris into the screen. For light buildup, this single step is often enough.
Why Microfiber Is the Only Safe Choice
Microfiber cloths are specially designed to trap dust and oils without scratching. Their ultra-fine fibers lift grime instead of pushing it around. Unlike paper towels or cotton rags, microfiber won’t leave lint or residue. Keep multiple cloths on hand and wash them regularly to maintain effectiveness. Replace them when they become worn or no longer clean efficiently.
Dampen Cloth for Stubborn Smudges

When dry wiping isn’t enough, use a slightly damp microfiber cloth. The key is damp, not wet. Excess moisture increases the risk of seepage and streaking. To safely moisten the cloth, mist a spray bottle into the air and pass the cloth through the fine droplets. Alternatively, lightly dampen a corner of the cloth with distilled water and wring it thoroughly.
Use a Vinegar-Water Solution for Oily Residue
For stubborn fingerprints or oily smudges, mix a 50-50 solution of distilled water and white vinegar. The mild acidity breaks down oils without harming most screen coatings. Apply the solution to your cloth—not the screen—and wipe gently. Avoid tap water, which contains minerals that can leave residue. This DIY solution is effective, affordable, and safer than many commercial cleaners.
Follow the Two-Pass Cleaning Method
For best results, use a two-step approach:
- First pass: Remove loose dust with a dry duster or microfiber cloth. Skipping this step can cause particles to scratch the screen when wiped with a damp cloth.
- Second pass: Wipe with a slightly damp cloth using water or vinegar solution to remove remaining smudges.
- Final pass: Dry the screen with a second clean, dry microfiber cloth to eliminate streaks and residual moisture.
This method ensures a spotless, streak-free finish every time.
Choose Safe and Effective Cleaning Products
Not all screen cleaners are created equal. Use only products specifically labeled as LCD-safe or designed for electronics. Some popular and effective options include:
• Screen Mom: A well-reviewed cleaner that removes smudges quickly when applied to a microfiber cloth
• Touchscreen-safe sprays: Ideal for interactive displays; follow manufacturer guidelines
• DIY distilled water and vinegar mix: A reliable, low-risk alternative
Avoid generic glass cleaners like Windex unless you’ve verified they’re ammonia-free. Ammonia can degrade anti-glare coatings over time.
What Cleaning Chemicals to Avoid
Stay away from:
• Isopropyl alcohol (IPA): Can permanently fog anti-glare coatings, especially on budget monitors
• Ammonia-based cleaners: Damage sensitive screen layers
• Abrasive sprays or solvents: Risk irreversible surface damage
Even if a product claims to be safe, if it’s not designed for monitors, skip it. The risk isn’t worth the convenience.
Clean Matte Finish Screens With Extra Care
Matte screens have a textured surface that’s more prone to scratching. Use only a dry microfiber cloth for routine cleaning. If damp cleaning is necessary, use minimal moisture and avoid pressing hard. The 50-50 vinegar-water solution is safe for most matte finishes, but always test in a small area first. Excessive pressure or abrasive cloths can wear down the anti-reflective layer, leading to permanent shine spots.
Protect the Anti-Glare Coating
Many modern monitors use exposed matte layers (like LG models), meaning the anti-glare coating is the top surface. Once damaged, it cannot be repaired. Always use soft tools, avoid alcohol, and never use paper towels. Treat matte screens with extra care—cleaning should never feel like scrubbing.
Handle Touchscreen Monitors Carefully
Touchscreen monitors require more frequent cleaning due to constant contact. Use a microfiber cloth lightly dampened with distilled water. For tough smudges, choose a cleaner specifically made for touchscreens. Never soak the screen or let moisture pool around the edges. Follow your device’s manual for any model-specific instructions.
Don’t Forget to Clean the Stylus
Turn off the device or remove the battery, then wipe the stylus with a slightly damp cloth. Avoid harsh chemicals that could degrade the tip. Let it air dry completely before use. Regular stylus cleaning improves accuracy and prevents transferring grime back to the screen.
Clean Vents, Bezel, and Power Button Separately
The screen isn’t the only part that collects dust. Use compressed air to clean monitor vents, but never point it at the screen. Hold the can upright to prevent propellant from spraying out. For stubborn dust, use a soft brush or cotton swab. Wipe the bezel and back with a separate cloth and mild cleaner—never use the same cloth as the screen to avoid transferring grit.
Clean the Power Button Without Risk
The power button gathers oils and dirt from frequent use. Dampen a microfiber cloth or cotton swab with a small amount of water and gently wipe the area. Avoid soaking it—moisture can seep inside and cause malfunction. Let it dry fully before turning the monitor back on.
Stick to a Regular Cleaning Schedule
For most users, cleaning every two weeks is sufficient. In dusty environments or high-traffic workspaces, clean weekly. Immediate cleaning is recommended when visible smudges or fingerprints appear. Regular maintenance prevents buildup and reduces the need for aggressive cleaning later.
Prevent Smudges With Simple Habits
Reduce smudges by avoiding direct contact with the screen. Train yourself and others not to touch the display. Use a screen protector to create a sacrificial layer that blocks fingerprints and dust. When dirty, simply remove and clean the protector—much safer than cleaning the actual screen. Replace protectors periodically to keep your monitor looking new.
Avoid These 6 Common Cleaning Mistakes
Even with good intentions, mistakes can damage your monitor. Here are the top errors to avoid:
• Spraying liquid on the screen → Always spray the cloth
• Using paper towels → They’re abrasive and leave lint
• Cleaning a powered-on monitor → Risk of shock and damage
• Using isopropyl alcohol → Can fog coatings permanently
• Applying too much pressure → May harm pixels or layers
• Using compressed air on the screen → Force can damage pixels
Following these simple rules keeps your monitor safe and extends its lifespan.
Know When to Skip Chemicals Entirely
In most cases, water is enough. Dust and fingerprints don’t require solvents. The “good enough” principle applies: if a damp microfiber cloth removes the grime, don’t escalate to chemicals. Every additional substance increases risk. Reserve stronger solutions for rare, stubborn cases—and only when absolutely necessary.
Follow the Progressive Cleaning Approach
Start with the gentlest method and move up only if needed:
- Dry microfiber cloth – for dust and light smudges
- Slightly damp cloth (distilled water) – for fingerprints
- Vinegar-water solution or commercial cleaner – for oily residue
- Specialized products – only if recommended by manufacturer
This minimizes risk while maximizing results.
Final Wipe for a Streak-Free Finish

Streaks usually happen when too much moisture is left behind. After using a damp cloth, always finish with a dry microfiber cloth. Wipe in circular motions to lift residual liquid. Use a second clean cloth if the first shows signs of dirt or cleaner residue. A final buffing pass ensures a clear, professional finish.
Allow Time for Complete Drying
Let the monitor sit unplugged for 5–10 minutes after cleaning. This guarantees all moisture has evaporated, especially around the edges. Never rush to power it back on—residual dampness can cause electrical issues or clouding.
Frequently Asked Questions About Cleaning Computer Monitors
Can I use Windex to clean my monitor?
No. Most Windex products contain ammonia, which can damage anti-glare and anti-reflective coatings. Use a 50-50 mix of distilled water and white vinegar or an LCD-safe cleaner instead.
Is it safe to use alcohol on my screen?
No. Isopropyl alcohol can permanently fog anti-glare coatings, especially on matte screens. Even if some high-end displays tolerate it, the risk isn’t worth it. Stick to water or vinegar solutions.
How do I remove streaks after cleaning?
Streaks are caused by leftover moisture or dirty cloths. Turn off the monitor and wipe it with a clean, dry microfiber cloth in circular motions. Use a second cloth if needed.
Can I use compressed air on my monitor screen?
No. Compressed air can damage LCD pixels. Use it only on vents and exterior surfaces, and always hold the can upright to avoid spraying propellant.
Do screen protectors help reduce cleaning?
Yes. Screen protectors act as a barrier against fingerprints, dust, and oils. They’re easier to clean and replace than the actual screen, making maintenance safer and more convenient.
How often should I clean my monitor?
Every two weeks for normal use. In dusty or high-touch environments, clean weekly. Clean immediately if you notice visible smudges or fingerprints.
Key Takeaways for Safely Cleaning Your Computer Monitor
The best way to clean a computer monitor combines safety, simplicity, and the right tools. Always power off and unplug the monitor first. Use a clean, dry microfiber cloth for routine dusting, and only dampen it when necessary. Stick to distilled water, a vinegar-water mix, or LCD-safe cleaners—never use alcohol or ammonia-based products.
Protect delicate coatings by avoiding pressure, harsh chemicals, and direct liquid contact. Clean vents, bezels, and buttons separately, and consider using a screen protector to reduce future cleaning needs. By following this method, you’ll keep your display clear, sharp, and damage-free for years.