A dirty computer mouse can lead to sticky buttons, unresponsive tracking, and even long-term damage. Over time, dust, oils from your hands, and debris build up on the surface and in hard-to-reach areas. The best way to clean a computer mouse is with a simple, safe routine using common household supplies—no harsh scrubbing or disassembly required. Whether you’re using a Microsoft mouse, a gaming model, or a basic wired version, regular cleaning improves performance and hygiene. In this guide, you’ll learn how to clean your mouse effectively, avoid common mistakes, and keep it working smoothly for months to come.
You’ll discover step-by-step methods for cleaning the sensor, disinfecting surfaces, removing grime from buttons, and handling special models like trackball mice. With just a few minutes and the right tools, you can restore smooth tracking and hygienic operation. Let’s dive into the safest, most effective way to clean your computer mouse.
Disconnect Your Mouse Before Cleaning
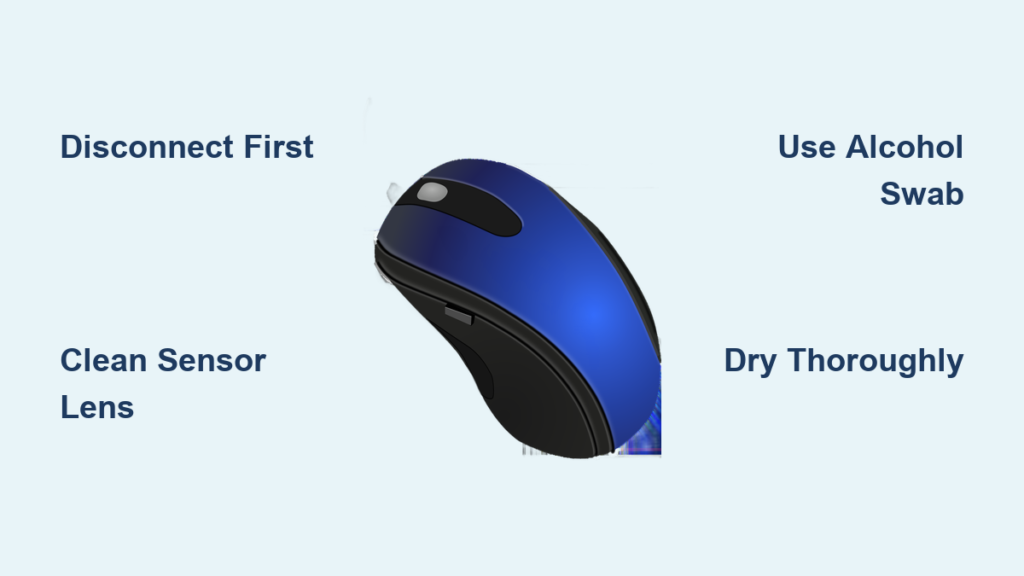
Always power down and disconnect your mouse before starting. This prevents electrical damage and ensures your safety during cleaning. For wired models, unplug from the USB port. For wireless mice, remove the batteries or switch off the power. Never spray liquids directly onto the device—moisture can seep inside and ruin internal components.
Why Unplugging Is Essential
Cleaning a powered or connected mouse risks short circuits, especially if moisture enters the sensor or circuitry. Even small amounts of liquid can cause malfunctions. Removing power eliminates this risk and allows you to clean thoroughly without hesitation. It also protects sensitive electronics from accidental button presses during cleaning.
Identify Your Mouse Type First
Different mice need slightly different care:
• Optical/Laser mice: Have a sensitive sensor on the bottom—avoid soaking or wiping aggressively
• Gaming mice: Often feature textured grips and RGB lighting; use gentle cleaners to preserve finishes
• Trackball mice: Require deeper cleaning of the ball and internal rollers
Knowing your model helps you choose the right tools and pressure level for safe, effective cleaning.
Gather the Right Cleaning Supplies

Use only soft, non-abrasive materials and safe cleaning solutions. Harsh chemicals or rough cloths can scratch surfaces or degrade coatings over time.
Essential Tools for Cleaning
• Lint-free microfiber cloth
• Cotton swabs (Q-tips)
• Isopropyl alcohol (70% or less)
• Mild dish soap
• Water
• Compressed air (optional but helpful)
Avoid paper towels—they can scratch surfaces—and bleach-based cleaners, which damage plastic and rubber components.
Why 70% Isopropyl Alcohol Is Ideal
Isopropyl alcohol at 70% concentration effectively disinfects without leaving residue or damaging electronics. It evaporates quickly, reducing the risk of moisture exposure. Always apply it to a cloth or swab—not directly to the mouse—to prevent accidental drips into internal parts.
Clean the Outer Surfaces Safely
Start with the body of the mouse to remove fingerprints, grime, and germs from daily use. This step improves both hygiene and grip.
Wipe With a Damp Microfiber Cloth
Mix a few drops of mild dish soap with water. Dampen a lint-free cloth—never soak it—and gently wipe the top, sides, and buttons. Use light pressure to avoid pushing water into seams. For tight corners, fold the cloth around a cotton swab to reach edges.
Disinfect With Alcohol for Light-Colored Mice
For deeper sanitization, especially on white or light-colored mice, use a cloth lightly moistened with 70% isopropyl alcohol. Wipe all surfaces, including the scroll wheel and side grips. Let the mouse air dry completely before reconnecting. This removes bacteria and prevents yellowing caused by oils.
Avoid These Common Cleaning Mistakes
• Don’t soak the mouse – Water can damage internal circuits
• Don’t use window cleaner – Ammonia-based products like Windex can cloud or crack plastic
• Don’t scrub aggressively – Scratches attract more dirt and reduce grip over time
Stick to gentle wiping motions and dry immediately.
Clean the Optical Sensor Lens

The sensor on the bottom of your mouse is critical for accurate tracking. Dust or smudges here cause erratic cursor movement or complete failure.
Locate the Sensor Correctly
Turn the mouse over and find the small red or blue light in the center. This is the optical sensor. It’s delicate and easily obstructed by dirt, so handle with care.
Step-by-Step Sensor Cleaning
- Use a dry cotton swab to remove loose dust
- Lightly dampen a second swab with 70% isopropyl alcohol
- Gently wipe the lens in a circular motion
- Let it dry for 30 seconds before use
Never use a cloth on the sensor—fibers can catch on the lens housing and scratch it.
Fix Tracking Issues After Cleaning
If the cursor still jumps or freezes:
• Recheck the sensor for smudges
• Test on a solid-colored mousepad (avoid reflective or patterned surfaces)
• Update mouse drivers through Device Manager or manufacturer software
Sometimes the issue isn’t the mouse—it’s the surface or software.
Remove Debris From Buttons and Gaps
Dirt builds up around buttons and seams, leading to sticky clicks or unresponsive inputs. This is especially common on frequently used left and right buttons.
Use Compressed Air Effectively
Hold the can upright and spray short bursts around the buttons and edges. This lifts out dust and crumbs without introducing moisture. Keep the nozzle 1–2 inches away to avoid forcing debris deeper into the housing.
Clean Tight Spaces With Cotton Swabs
Wrap a cotton swab around the edge of a button to clean crevices. For stubborn grime, lightly dampen the swab with alcohol, then dry immediately with a clean, dry swab. This prevents moisture buildup.
Fix a Sticky Scroll Wheel
If the wheel doesn’t turn smoothly:
• Tilt the mouse sideways and spray compressed air into the gap
• Rotate the wheel while blowing to dislodge trapped particles
• Wipe the surface with an alcohol-dampened swab
Repeat as needed until movement is smooth.
Special Care for Trackball Mice
Trackball models collect more debris inside the ball housing and rollers, requiring deeper cleaning than standard mice.
Remove the Trackball Safely
Locate the ball cover on the bottom. Rotate it counterclockwise to unlock and remove the ball. Set it aside on a clean surface.
Clean the Ball and Internal Rollers
Wash the ball with soapy water, rinse thoroughly, and dry completely. Use cotton swabs dipped in isopropyl alcohol to clean the rollers inside the housing—these control movement and often get gummed up with oils and dust.
Reassemble Only When Dry
Once all parts are fully dry, replace the ball and twist the cover back into place. Test movement before extended use. Moisture inside can cause erratic tracking or permanent damage.
Dry and Reconnect the Mouse Properly
After cleaning, allow the mouse to air dry for at least 5–10 minutes. Even invisible moisture can interfere with electronics.
Check for Residual Dampness
Feel around buttons, seams, and the sensor. If any area feels cool or damp, wait longer. Never use a hairdryer—heat can warp plastic and damage internal components.
Restore Power and Test Functionality
Reinsert batteries or plug the USB cable back in. Test all buttons, the scroll wheel, and tracking on your screen. If anything feels off, double-check for moisture or debris.
Prevent Future Buildup With Simple Habits
Regular maintenance keeps your mouse responsive and hygienic without needing deep cleaning every week.
Clean Your Mouse Monthly
Set a reminder to clean your mouse every 30 days. A quick wipe-down takes less than 5 minutes and prevents deep grime buildup. For heavy users, consider cleaning every 2 weeks.
Wash Hands Before Using Your Computer
Clean hands reduce oil and dirt transfer, keeping the mouse surface clearer longer. This is especially helpful for light-colored or matte-finish mice.
Use a Wrist Rest to Reduce Contact
A padded wrist rest minimizes direct hand-to-mouse contact, reducing sweat and dirt accumulation on the body and buttons.
Troubleshoot Common Post-Cleaning Issues
Even after proper cleaning, some problems may persist. Here’s how to fix them.
Cursor Moves Erratically
• Re-clean the sensor lens
• Try a solid-colored mousepad (avoid reflective or patterned surfaces)
• Update or reinstall mouse drivers through Device Manager
Sometimes the issue is the surface, not the mouse.
Buttons Don’t Respond After Cleaning
• Check for leftover moisture—dry thoroughly
• Inspect for physical damage or debris under the buttons
• Test on another computer to rule out software issues
Moisture is the most common cause of temporary failure.
Scroll Wheel Feels Gritty or Stiff
• Use compressed air and alcohol swabs repeatedly
• For advanced users, disassemble (if possible) and clean internal components
• Avoid using oil or lubricants—these attract more dust
Stick to dry or alcohol-based cleaning only.
Frequently Asked Questions About Cleaning Computer Mice
Can I use hand sanitizer to clean my mouse?
No. Hand sanitizer often contains additives like glycerin or fragrances that leave sticky residue. Use 70% isopropyl alcohol on a cloth instead for safe disinfection.
How often should I clean my computer mouse?
Clean your mouse every 30 days for optimal performance. Heavy users or those with visible grime should clean every 2 weeks. Light users can go up to 6 weeks between cleanings.
Can I wash a mouse with water?
No. Never submerge your mouse in water. You can lightly dampen a cloth with soapy water to wipe surfaces, but avoid any direct water contact with ports, seams, or the sensor.
Is it safe to use alcohol wipes on a mouse?
Yes, if they contain 70% isopropyl alcohol or less. Wipe gently and avoid oversaturating. Never use wipes with bleach, ammonia, or strong fragrances.
Why is my mouse still sticky after cleaning?
Residual oils or soap buildup may remain. Re-clean with isopropyl alcohol on a cotton swab, focusing on crevices. Ensure the cloth wasn’t too wet during the initial wash.
Can cleaning fix a double-clicking mouse?
Sometimes. Sticky buttons from grime can cause double-clicking. Clean around the buttons with alcohol and compressed air. If the issue continues, the switch may be worn out and need replacement.
Key Takeaways for Keeping Your Mouse Clean and Functional
The best way to clean a computer mouse combines safe materials, proper technique, and regular upkeep. Always disconnect the device first, use a lint-free cloth with mild soap or 70% isopropyl alcohol, and focus on high-impact areas like the sensor, buttons, and scroll wheel. Avoid direct liquid application, never rush drying, and clean monthly for optimal results.
For long-term care, wash your hands before use, consider a wrist rest, and stick to gentle cleaning methods. By following these steps, you’ll extend your mouse’s lifespan, improve tracking accuracy, and maintain a hygienic workspace. Start with a 5-minute cleaning session today—your mouse (and your productivity) will thank you.