You’re setting up for a podcast, voiceover, or live stream—but your microphone isn’t working. The best way to connect a microphone to a computer depends on your mic type, your device’s ports, and your audio quality needs. Whether you’re using a USB mic, a 3.5mm lavalier, or a professional XLR model, choosing the right connection method ensures clear, distortion-free sound without frustrating technical issues.
This guide breaks down every connection option—USB, 3.5mm, XLR, and wireless—so you can pick the ideal setup for your gear and goals. You’ll learn how to avoid common problems like no sound, low volume, or phantom power failure. From plug-and-play USB mics to studio-grade XLR systems, we cover step-by-step setups, configuration tips, and troubleshooting fixes. By the end, you’ll know exactly how to connect your mic, optimize settings, and test for professional results.
Choose the Right Microphone Connection Type

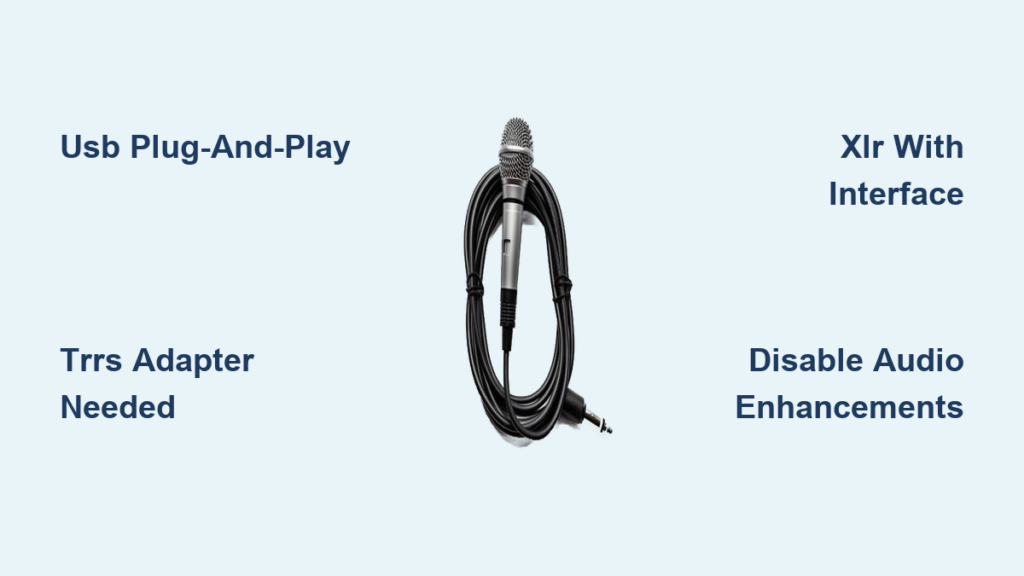
The best way to connect a microphone to a computer depends on your equipment and use case. There are three primary methods: USB, 3.5mm jack, and XLR. Each offers different levels of audio quality, ease of use, and compatibility.
USB: Fastest Setup for Beginners and Streamers
USB microphones are the easiest way to get high-quality audio quickly. Just plug into any USB port and start recording—no extra gear required.
• Works instantly on Windows, Mac, and Chromebooks
• Built-in preamp and analog-to-digital converter
• No drivers usually needed (plug-and-play)
• Ideal for podcasts, Zoom calls, and streaming
Limitation: USB mics can’t deliver true studio sound. You also can’t use two USB mics together due to clock sync issues, making stereo recording impossible.
3.5mm Jack: Simple Plug for Lavalier and Headset Mics
A 3.5mm microphone—like a lavalier—plugs directly into your laptop’s combo jack if it uses a TRRS connector (three black rings). These are common on smartphones and modern laptops.
• TRRS mics work instantly with combo jacks
• TRS mics (two black rings) need a TRS-to-TRRS adapter
• Great for interviews, voiceovers, and mobile recording
Pro Tip: If your desktop has separate mic and headphone ports, a TRS mic will work without an adapter.
XLR: Professional Audio with an Audio Interface
XLR microphones—like the Shure SM7B or Rode NT1—require an audio interface to connect to a computer. This setup delivers the highest fidelity and control.
• Requires XLR cable, audio interface, and USB connection
• Provides 48V phantom power for condenser mics
• Best for music production, broadcasting, and studio voice work
Key Benefit: An audio interface gives you gain control, monitoring, and clean signal conversion—something USB mics can’t match.
Connect a USB Microphone in Under a Minute
USB microphones are perfect for quick, reliable audio. Most are plug-and-play, meaning you can start recording immediately.
Plug In and Set as Default Input (Windows)
- Connect the USB cable to your microphone
- Plug into your computer’s USB-A or USB-C port
- Wait for the system to detect the device
Most USB mics appear automatically in Sound Settings. To set as default:
- Right-click the volume icon in the taskbar
- Select Sound settings
- Under Input, choose your USB microphone
- Click More sound settings > Recording tab
- Right-click the mic and select Set as Default
Now your mic works in Zoom, OBS, Audacity, and other apps.
Avoid Common USB Mic Problems
• No sound? Check if the mic is muted or not set as default
• Distortion? Lower input volume in Microphone Properties > Levels
• Latency? Use direct monitoring if your mic has a headphone jack
• Stereo recording impossible? Don’t try to use two USB mics—they can’t sync
Pro Tip: Aim for input levels peaking between -6 dB and -12 dB to avoid clipping.
Use a 3.5mm Microphone Without Compatibility Issues
A 3.5mm mic—especially a lavalier—is compact and portable. But success depends on matching the connector type to your laptop’s port.
Identify TRS vs. TRRS Connectors

• TRS (two black rings): Works with dedicated mic ports
• TRRS (three black rings): Required for combo jacks on laptops and phones
Critical Rule: A TRS mic won’t work in a TRRS combo jack without an adapter.
Connect Using a TRS-to-TRRS Adapter
If you have a TRS microphone and a combo jack:
- Plug the mic into a TRS-to-TRRS adapter
- Insert the adapter into your laptop’s audio jack
- Test in Sound Settings > Input
These adapters cost under $10 and solve most compatibility issues.
Use a 3.5mm Splitter for Mic + Headphones
Need to hear yourself while recording?
- Plug a 3.5mm TRRS splitter into your laptop
- Connect headphones to the headphone port
- Plug your TRRS mic into the mic port
Warning: If using a TRS mic with a splitter, add a TRRS-to-TRS adapter on the mic side.
Fix Playback Silence After Recording
If you record audio but hear nothing during playback:
• Unplug the mic before playing back
• Some systems disable audio output when a mic is plugged in to prevent feedback
This is normal behavior—just unplug the mic to listen.
Connect an XLR Mic Using an Audio Interface
For broadcast-quality sound, XLR is the gold standard. But it requires an audio interface to bridge the mic and computer.
What You Need for XLR Setup
• XLR microphone
• XLR cable
• Audio interface with USB output
• USB cable
• Power supply (if not bus-powered)
Step-by-Step XLR Connection
- Connect the USB cable from the audio interface to your computer
- Plug the XLR cable from the mic to the interface
- Turn on the interface
- Enable phantom power (48V) if using a condenser mic
The interface powers the mic, boosts the signal, and converts it to digital.
Why Phantom Power Is Essential
Condenser mics need 48V phantom power to operate. Most laptops don’t provide this—your audio interface does.
• Look for P48 or 48V switch on the interface
• Safe for dynamic mics—won’t damage them
• Required for mics like the Rode NT1 or Neumann TLM 103
Avoid cheap bus-powered interfaces—they often deliver weak or unstable phantom power.
Choose a Reliable Audio Interface
Look for these features:
• At least one XLR input
• Phantom power (48V)
• Headphone output for monitoring
• Monitor outputs with volume knob
• USB 2.0 (most reliable and affordable)
Price Guide:
• Decent interface: $200+
• Professional quality: $400–500+
USB 2.0 is the safest choice. Avoid FireWire (outdated) and be cautious with USB 3.0 due to compatibility issues.
Set Up Bluetooth Microphones for Wireless Freedom
Bluetooth mics offer mobility—perfect for interviews, vlogging, or remote work.
Pair a Bluetooth Mic on Windows
- Go to Settings > Devices > Bluetooth & other devices
- Click Add Bluetooth or other device
- Select your mic and follow pairing prompts
Once connected, it appears in Sound Settings > Input.
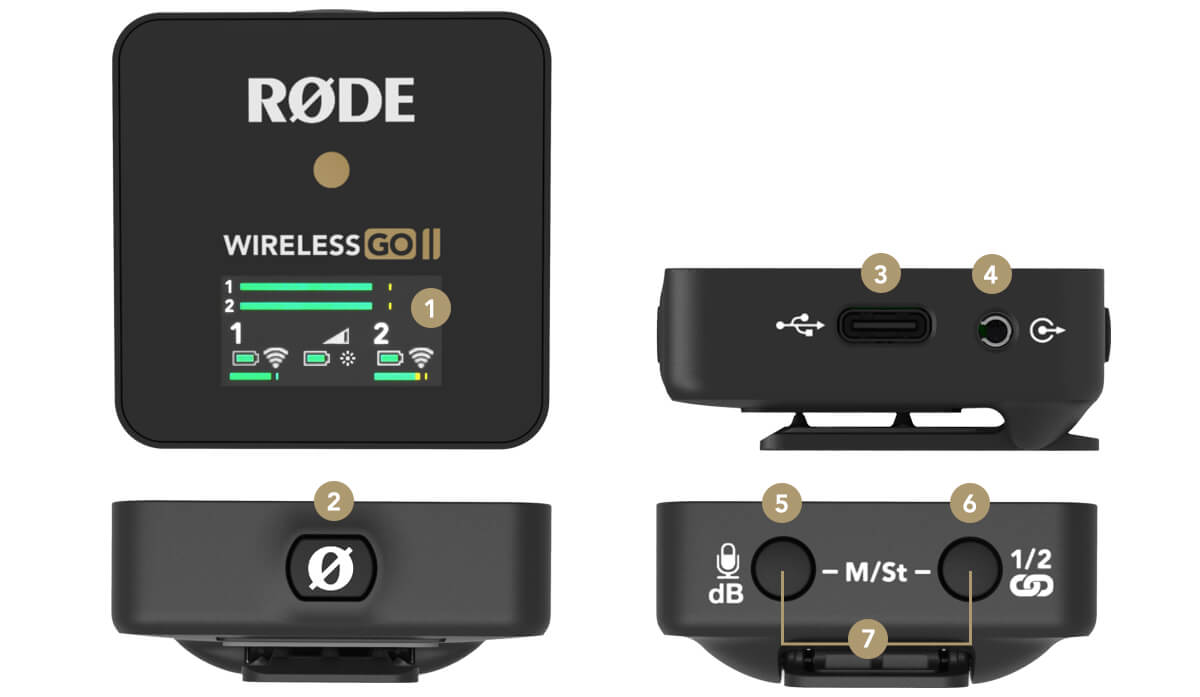
Use Wireless Systems Like Rode Wireless Go
The Rode Wireless Go includes a mic transmitter and USB receiver:
- Clip the transmitter to your clothing
- Plug the receiver into your laptop’s TRRS jack
- Use a TRS-to-TRRS adapter if needed
Some models, like the Moman C2, also support USB-C connection for direct digital audio.
Advantage: No cables, high-quality audio, and full mobility.
Configure Microphone Settings on Windows
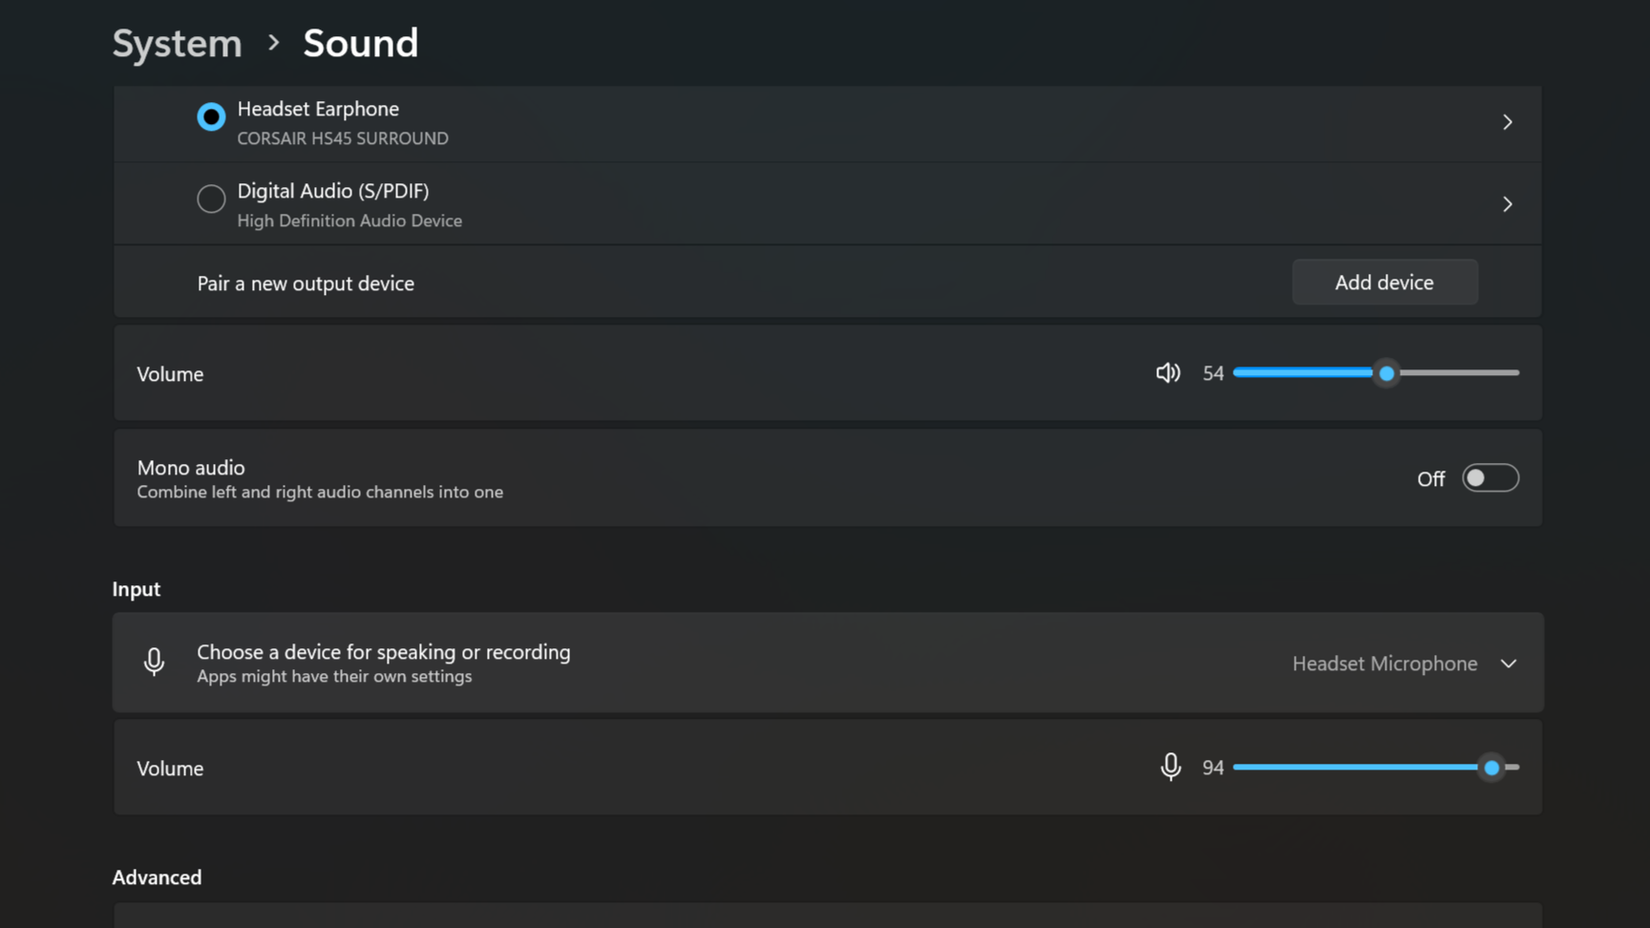
Even with the right hardware, your mic won’t work unless configured properly.
Set Input Device and Test
- Right-click the volume icon
- Select Sound settings
- Under Input, choose your microphone
- Adjust volume to ~90% for optimal sensitivity
Test by speaking—watch the input level respond.
Disable Audio Enhancements
Windows can distort mic input with automatic processing.
- Right-click mic in Recording tab
- Go to Properties > Advanced
- Uncheck Enable audio enhancements
- Click Apply
This prevents echo, distortion, and filtering.
Adjust Microphone Levels Properly
- Open Levels tab in mic Properties
- Slide Microphone to increase volume
- Use Microphone Boost sparingly—too much causes noise
Best Practice: Keep peaks between -6 dB and -12 dB for clean audio.
Optimize Mac Microphone Settings
Mac users have a simpler setup, but proper configuration is still key.
Select Input Device on Mac
- Go to System Settings > Sound > Input
- Choose your microphone from the list
- Speak and watch the input level bar respond
Adjust Input Volume
• Slide the volume to 75–90%
• Avoid maxing it out to prevent distortion
• Use external software (e.g., Audacity) for fine-tuning
Note: Macs support USB, 3.5mm, and Bluetooth mics natively.
Troubleshoot Common Microphone Problems
Even the best setup can fail. Here’s how to fix the most common issues.
No Sound from Microphone
• Check connections: Ensure cables are secure
• Set as default: Confirm it’s selected in Sound Settings
• Unmute: Check if the mic is muted in software or hardware
• Test on another device: Rule out mic failure
Low or Muffled Audio
• Distance: Stay 6–12 inches from the mic
• Gain: Increase input level or use mic boost
• Cables: Replace damaged or low-quality cables
• Port: Use the rear mic-in port on desktops—front panels often lack power
XLR Mic Not Working
• Phantom power: Ensure 48V is enabled on the interface
• Cable: Test with a known-good XLR cable
• Interface: Confirm the interface is powered and connected via USB
• Driver: Install manufacturer drivers if required
Test and Verify Your Microphone Setup
Before going live, always test your microphone.
Quick Test Steps
- Open Voice Recorder (Windows) or Voice Memos (Mac)
- Record a short clip
- Play it back—listen for clarity, volume, and background noise
Monitor in Real Time
• Enable Listen to this device in mic Properties (Windows)
• Use headphones to hear yourself without delay
• Test in your actual app (Zoom, OBS, etc.)
Final Check
• Input level responds to your voice
• No static, hum, or distortion
• Headphones work if monitoring
• Correct mic selected in both OS and app
Key Takeaways for Connecting Any Microphone
The best way to connect a microphone to a computer depends on your needs. Follow these best practices for reliable, high-quality audio.
Connection Tips
• Use USB for simplicity and speed
• Use 3.5mm TRRS for lavaliers on laptops
• Use XLR + audio interface for studio quality
• Keep TRS-to-TRRS adapters on hand
Setup Tips
• Always plug into the rear mic-in port on desktops
• Use self-powered audio interfaces for stable phantom power
• Disable audio enhancements in Windows
• Set input levels to -6 dB to -12 dB
Pro Tips
• Test before every recording
• Use a splitter for mic + headphones
• Consider wireless mics for mobility
• Invest in a $200+ audio interface for professional results
Frequently Asked Questions About Connecting a Microphone to a Computer
Can I connect any microphone to a computer?
Yes, but the method depends on the mic. USB mics plug directly. 3.5mm mics need a compatible jack or adapter. XLR mics require an audio interface. With the right tools, any microphone can connect to a computer.
Why won’t my microphone work on my laptop?
Common causes include wrong port, missing adapter (TRS vs. TRRS), no phantom power for XLR mics, or incorrect input settings. Check connections, set the mic as default, and disable audio enhancements in Windows.
Do I need an audio interface for a USB microphone?
No. USB microphones have built-in preamps and analog-to-digital converters. They connect directly to your computer via USB and do not require an audio interface.
How do I know if my laptop supports TRRS?
Most modern laptops with a single headphone/mic combo jack support TRRS. If your lavalier mic works when plugged in, your laptop supports TRRS. If not, you may need a TRS-to-TRRS adapter.
Can I use two USB microphones at once?
No, due to clock sync issues. Recording software typically allows only one USB mic driver at a time. For stereo recording, use an audio interface with multiple XLR inputs.
How do I fix low microphone volume on Windows?
Increase the input level in Sound Settings > Microphone Properties > Levels. Avoid maxing out microphone boost, as it adds noise. Position yourself 6–12 inches from the mic and use the rear mic-in port on desktops.